


The 3 Momentum States That Let You Dictate Every Pickleball Point
Every pickleball point moves through three momentum states, and most amateur players never learn to recognize them. Once you understand neutral, advantage, and disadvantage, you stop reacting and start dictating points.
If you want to dictate pickleball points instead of constantly scrambling, you need to stop thinking about individual shots and start thinking about momentum.
Most amateur players react to whatever comes at them and hope for the best.
The players who beat you despite being slower or less athletic are doing something different. They are managing the flow of the rally with intention.
This breakdown comes from PlayPickleball.com on YouTube, where their coaching team walks through the exact momentum framework that separates 5.0 players from everyone else.
Here is what it covers and how to apply it immediately.
Love pickleball? Then you'll love our free newsletter. We send the latest news, tips, and highlights for free each week.
The Framework You Have Been Missing
Every pickleball rally moves through three distinct states.
Most players have never named them, which means they cannot recognize them or respond to them deliberately.
The three states are neutral, advantage, and disadvantage. Understanding where you are in any given moment changes every decision you make.
This is not about hitting harder or being more athletic. It is about reading the rally and choosing the right response for the right state.
What Does Neutral Actually Look Like?
Neutral is when all four players are established at the kitchen line with no clear edge on either side.
Both teams are balanced, patient, and nobody has created real pressure yet.
In a neutral rally, the correct move is patience. You are not looking to force something, you are waiting for the opportunity to shift into advantage.
A lot of players hate neutral because it feels passive.
But treating neutral like a problem to escape is exactly how you give up cheap points.
How Advantage and Disadvantage Shift the Rally
The shift from neutral to advantage happens when one team applies pressure that disrupts the balance.
A ball left up, a pressurized dink that pushes your opponent off the line, or a speed-up that catches someone flat-footed. Any of these can flip momentum.
When your team creates that pressure, you are in advantage. The other team is in disadvantage, meaning they are off balance, stretched, or scrambling.
Here is where most amateur players make the critical mistake. When they find themselves in disadvantage, they immediately try to swing back to advantage.
That bypass is what costs them the point.
 The Dink Media Team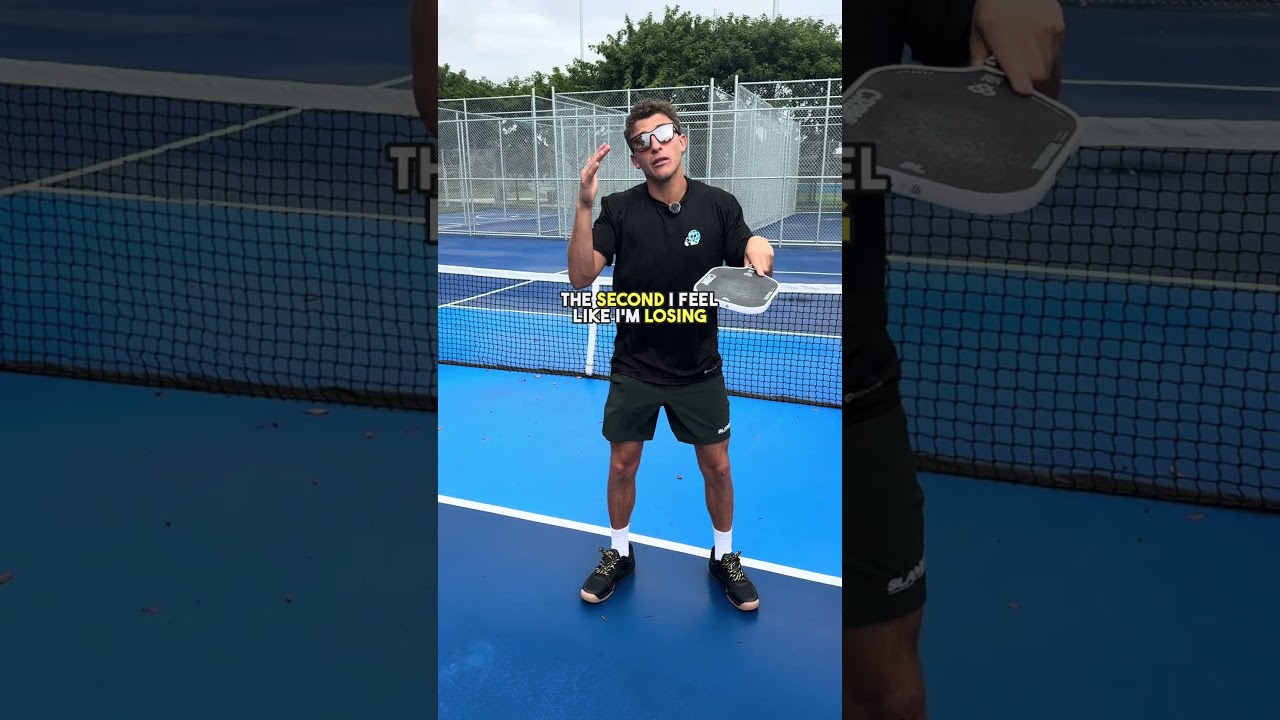
Why Skipping Neutral Is Costing You Points
The correct response to disadvantage is almost always to get back to neutral first, not to go straight for advantage.
Trying to hit a perfect winner when you are off balance or out of position is a low percentage play.
Think about what this looks like from the baseline. Your opponents are at the kitchen applying pressure and you are scrambling.
The instinct is to hit a clean third shot drop that lets you march straight to the kitchen.
But that is skipping neutral, and it leads to errors.
Instead, your first job is to just get the ball back and survive the rally. Use a high ball, a drive at 60 percent, or even a sky lob.
None of those feel heroic, but they keep you in the point and let you work forward gradually.
Getting to the kitchen line consistently matters more than how perfectly you get there.
 The Dink Media Team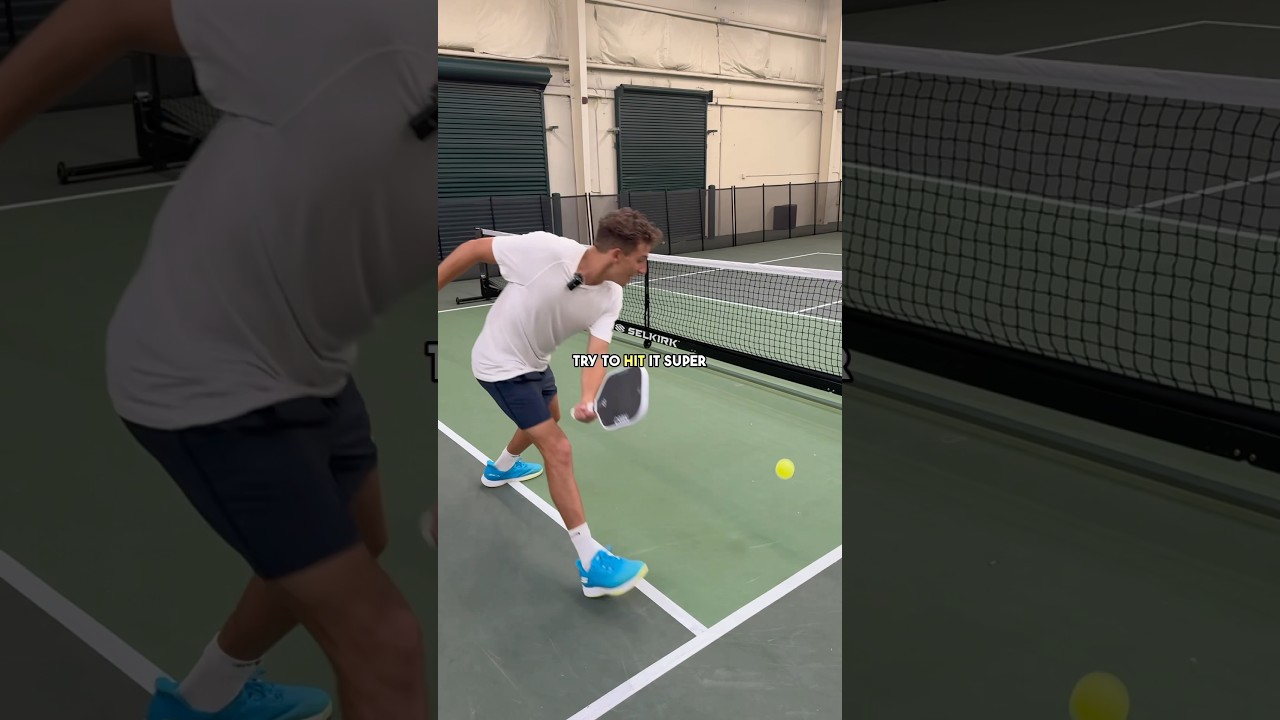
What Are the Exceptions to This Rule?
There are specific situations where you can skip neutral entirely and swing straight from disadvantage to advantage.
You need to know them clearly, because using this exception at the wrong time is just gambling.
- Exception 1: Waist-high ball in the transition zone. If you are in the midcourt or transition area and your opponent fires a ball at waist level, that is an attackable ball. Resetting it is actually leaving points on the table. You can hit down on that ball and take the advantage immediately without going through neutral first.
- Exception 2: Firefights at the kitchen line. In a fast exchange at the net, the team that wins is the one that recognizes balls above net level and hits down on them. If you get a ball at net height or above during a firefight, angling your paddle down and attacking it puts you straight into offense. Waiting for neutral in that moment means you lose the exchange.
The key in both cases is ball recognition. Ask yourself: can I hit down on this ball right now? If yes, attack.
If not, reset and get back to neutral.
For more on resetting speed-ups effectively, this breakdown covers the mechanics in detail.
 Augustus Ge
The Three Ways to Get Back to Neutral From the Baseline
When you are stuck at the baseline and getting pressurized, you have three tools to work your way back into the rally.
None of them require perfection. All of them require smart decision-making.
- The sky lob: Buy yourself time and force your opponents back from the kitchen. It is not glamorous, but it resets the positioning and neutralizes a lot of pressure.
- The 60 percent drive: Not a full rip, not a drop. A controlled drive that keeps the ball low and makes your opponents deal with pace without you overcommitting.
- The drop reset: The classic third shot drop into the kitchen. Effective, but only when you have enough balance and time to execute it well. Do not force this when you are scrambling.
The point is that none of these need to be perfect. Your only goal in that moment is to survive and keep the rally going long enough to reach a more neutral position.
Understanding where to aim your third shot drop becomes much easier when you stop treating it as your only option.
 The Dink Media Team
How This Changes Your Decision-Making in Real Time
Once you internalize these three states, every decision on the court has a clearer answer.
You are not just reacting anymore. You are diagnosing the rally and choosing the appropriate response.
- In neutral: be patient, look for your chance to create pressure, and avoid giving up a free ball.
- In advantage: apply pressure, look for balls you can hit down on, and keep your opponents off balance.
- In disadvantage: your first priority is survival. Get back to neutral. Do not try to be a hero with a low percentage shot that ends the rally in your opponent's favor.
This is exactly the mindset shift that separates 4.0 players from 5.0 players. The shots are not that different. The decision-making is everything.
 The Dink Media Team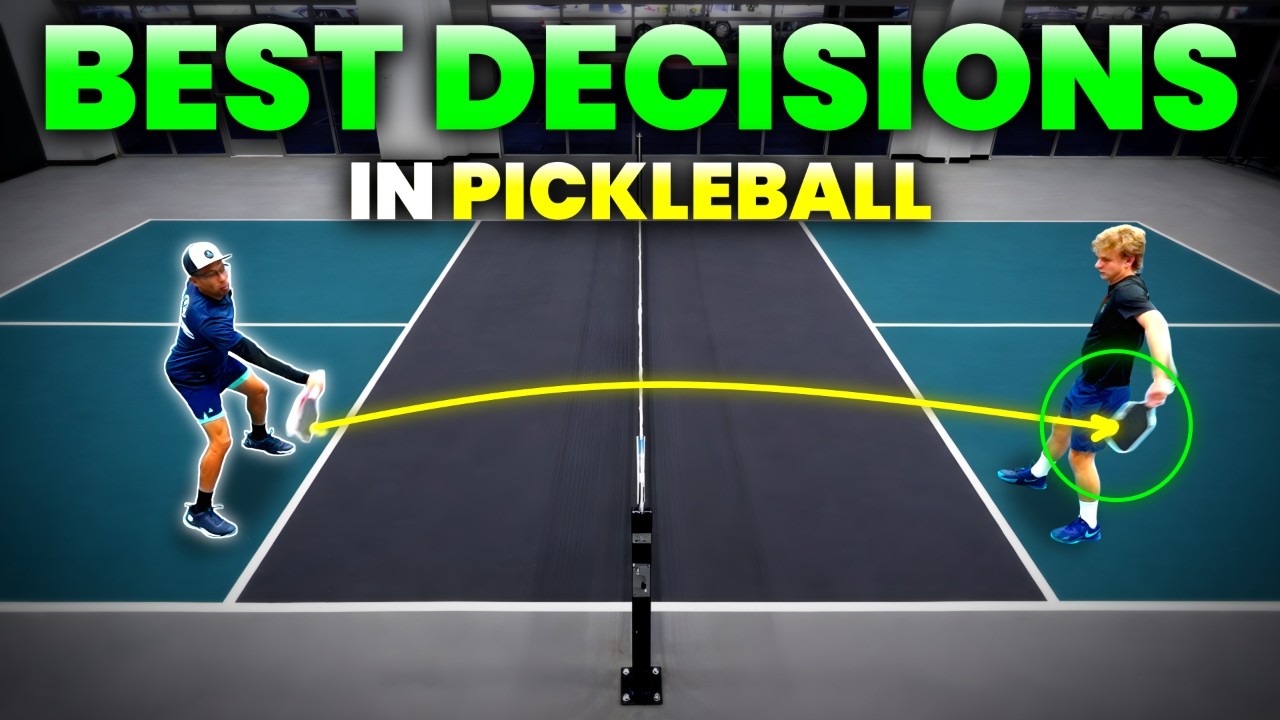
The Trouble Drill That Ties It All Together
Here is a drill you can run right now that forces you to practice all three states under pressure. It is called Trouble.
One player starts at the kitchen and hits a 60 to 70 percent overhead deep into the court.
The other player starts at the baseline, receives that overhead, and has to work their way back up to the kitchen and win the point.
The player at the baseline is immediately in massive disadvantage. Their job is to get back to neutral without trying to be perfect on the first ball.
They should use whatever tool fits the situation, whether that is a lob, a drive, or a drop, and advance forward only when the point feels neutralized.
What you will notice in this drill is two things.
- First, players who try to hit a perfect drop on the very first ball almost always fail.
- Second, players who accept imperfect balls early and focus on moving forward steadily start winning points they had no business winning.
You can also watch for that exception moment.
If the player feeding at the kitchen sends a ball at waist height during the rally, the baseline player can attack it and bypass neutral entirely.
Recognizing that moment in real time is the skill this drill is designed to build.
If you want to stop failing on your resets, this drill exposes exactly where the breakdown happens in your game.
For players who want to build a practice routine around real situations, drilling momentum states is far more effective than just hitting shots in isolation.
 Alex E. Weaver
Why This Is Not Just a Strategy for Advanced Players
This framework works at every level. You do not need to be a 5.0 player to understand that scrambling and guessing is worse than having a plan.
Even if your execution is not perfect, playing with a clear intention based on where the momentum sits gives you a massive edge over players who are just reacting and hoping.
That intention is what makes 5.0 players look like they are always in control, even when the rally is chaotic.
Start simple.
After each point, ask yourself: was I in neutral, advantage, or disadvantage when I made that last shot? Did I make the right call for where the momentum was?
That one habit will start changing how you see every rally.
If you are also working on reading rallies at a higher level, combining this momentum framework with shot selection awareness puts you well ahead of most recreational players.
And if firefights at the kitchen are where you keep losing the point, revisiting your grip pressure can make a significant difference in your ability to redirect balls quickly and accurately.
Managing momentum is also about staying composed when you are losing it.
The mindset shift that stops you hitting out balls is a natural companion to this framework, because bad shot selection and panic often happen at the same moment.
Finally, if your transition zone game is the weakest link in your momentum management, working on your dink, drop, and reset mechanics will give you more options when you need to get back to neutral under pressure.
Frequently Asked Questions
What does it mean to be in a neutral state in pickleball?
Neutral means both teams are balanced at the kitchen line with no clear advantage on either side. The correct response in neutral is patience, not aggression. You are waiting for a ball you can attack, not forcing one.
When should I try to reset instead of attack in pickleball?
Reset when you are in disadvantage and the ball does not give you a clear opportunity to hit down on it. Trying to attack from a defensive position is a low percentage play that gives away easy points. Get back to neutral first, then look for your chance to take the advantage.
What is the transition zone in pickleball and why does it matter?
The transition zone is the area between the baseline and the kitchen line, where you are most vulnerable to fast, offensive shots from your opponents. It matters because how you handle balls in this area determines whether you can get to the kitchen safely. A waist-high ball in this zone is actually an opportunity to skip neutral and attack directly.
How do firefights at the kitchen line work in terms of momentum?
In a firefight, the team that wins is the one that recognizes balls above net level and hits down on them first. If you receive a ball at or above net height, angling your paddle down and attacking it moves you straight from neutral or defensive to offensive. Hesitating or resetting in a firefight usually means you lose the exchange.
What is the Trouble drill in pickleball and how do I run it?
Trouble starts with one player at the kitchen hitting a 60 to 70 percent overhead deep to a player at the baseline. The baseline player must work their way back up to the kitchen and win the point using smart shot selection, not perfect execution. The goal is to practice reading momentum states and making the right call under real pressure.

Love Pickleball? Join 100k+ readers for free weekly tips, news & gear deals.
Subscribe to The Dink