
5 Drills for Players 50+ That Sharpen Drives, Drops, & Volleys Fast
These 5 pickleball drills target the exact moments where most rallies fall apart. Work through them in order and you will keep more balls in play within your first session.
If your pickleball drill sessions feel like you are just keeping score on your misses, you are not alone.
Most players hit for a while, get frustrated, and walk away without actually fixing anything.
The problem is not effort. It is structure. Without a clear focus for each drill, you end up reinforcing the same bad habits you walked onto the court with.
These five drills come from Tony Roig Pickleball (formerly In2Pickle) on YouTube, developed alongside Paul, director of pickleball at Pickle N Pint.
They build on each other, moving from basic chain hitting to full movement patterns, and each one has a specific job to do.
Love pickleball? Then you'll love our free newsletter. We send the latest news, tips, and highlights for free each week.
Drill 1: Chain Hitting from the Baseline
Start simple. Both players stand at their respective baselines and just keep the ball moving, back and forth, without a score and without pressure.
This is not mindless hitting. You are checking specific things on every single ball.
Here is what to focus on during baseline chain hitting:
- Ball-body relationship: Is the ball making contact at a comfortable distance from your body, or are you getting jammed? Getting jammed means your elbow has no room and your swing collapses before it can generate any real pace.
- Weight transfer: Are you stepping into the ball and letting your body drive the shot, or are you just swinging your arm?
- Trajectory variation: Practice hitting high and slow, then low and aggressive. Each has a completely different risk profile and you need to know which one you are choosing.
- Energy control: Hit one ball hard, then one soft. Notice how the ball moves differently and start to understand what your paddle face and swing speed are actually doing.
The goal is not perfection. The goal is awareness. You want to leave this drill knowing something about your game that you did not know before you started.
If you want to see how your forehand drive can generate more power and spin, this baseline drill is the perfect place to experiment before adding pressure.
Drill 2: Cross-Court Chain Hitting
Same concept, but now you move the rally cross-court.
This is not just a directional change. It forces technique adjustments and lets each player specialize their reps.
Tony hits mostly forehands as a left-handed player, sending the ball to Paul's backhand side.
That means Paul gets concentrated backhand reps while Tony grooves his forehand cross-court shape.
If you want to build real backhand consistency, this is one of the cleanest ways to do it.
Keep the rally going, work your pickleball footwork, and flow matters more than precision at this stage.
Is There a Better Way to Work on Volleys Without Playing Points?
Yes. Move one player to the non-volley zone and let the other drive from the baseline, exactly as USA Pickleball's official rules define that space.
Drill 3: Baseline Drives vs. Net Volleys
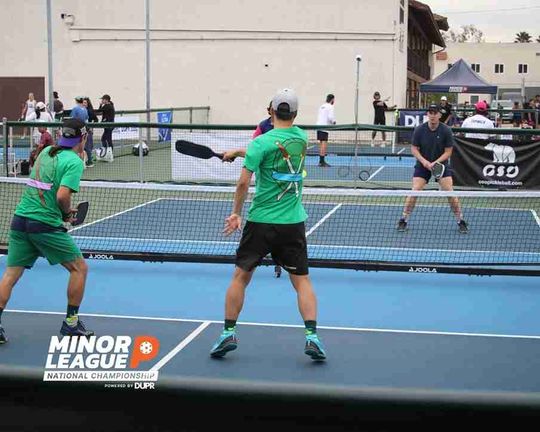
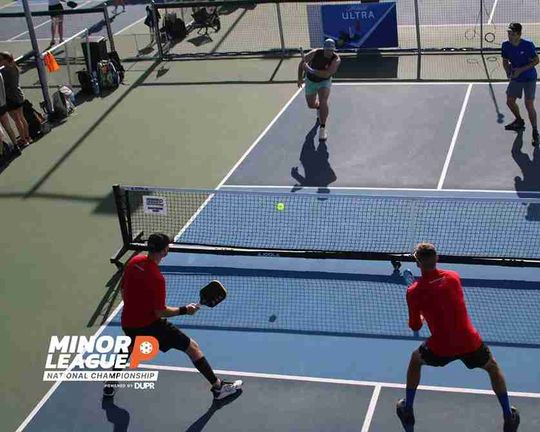
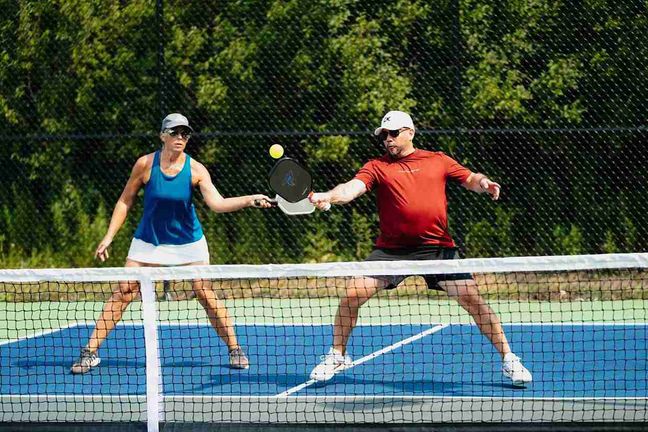
One player stays back and hits drives. The other stands at the kitchen line and punches them back. Nobody is trying to win.
Both players are trying to keep the ball alive as many times in a row as possible.
This pickleball drill does two jobs at once.
The baseline player works on controlled driving, learning to keep the ball in play without overhitting. The net player works on volley reaction and punch mechanics.
Think about what actually matters in a real rally. It is usually whoever can keep the ball in play one more time than the other person.
If your volleys keep popping up or going wide, check these common volley mistakes and how to fix them.
 Eric Roddy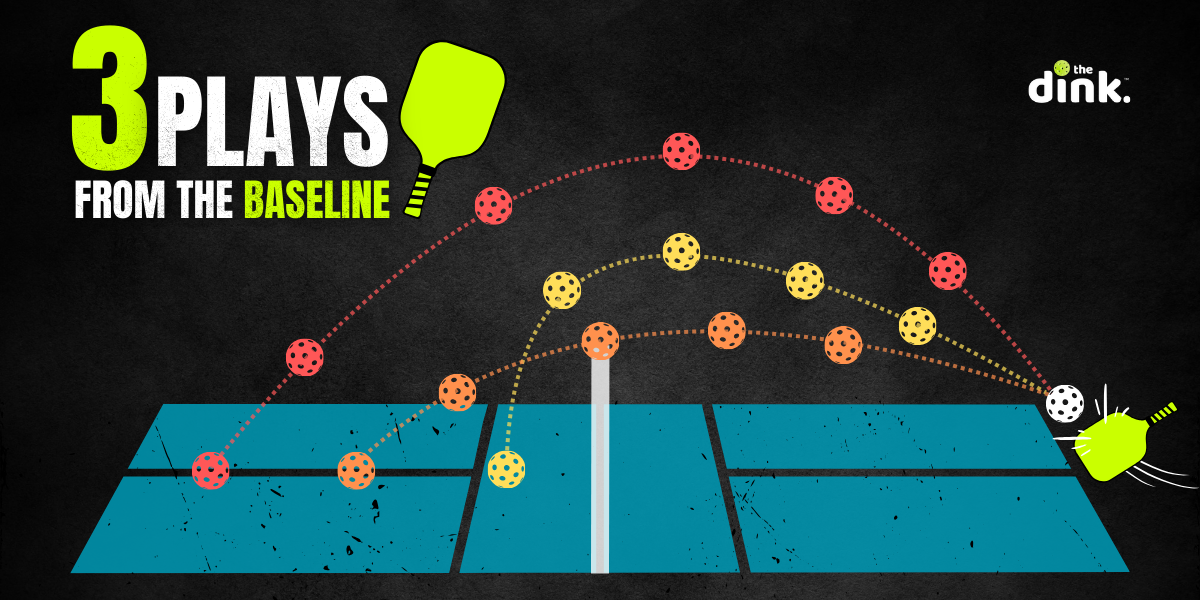
Drill 4: Baseline Drops vs. Net Volleys
Now swap the drive for a drop. Same setup, different shot, and the challenge increases for both players.
From the baseline, your job is to land soft drops that dip below the net line. Y
ou are working third shot drops, fifth shot drops, and any reset from deep in the court.
If one floats a little high, that is fine. Stay in it and keep hitting.
At the net, your partner has a harder job now.
The drops are descending instead of coming at them flat, which means the read is more complex and the timing is different.
This pickleball drill is static by design.
That constraint is intentional: you remove pickleball footwork variables so all your attention goes to the mechanics of the drop.
Understanding why you lose points after your serve makes far more sense once you have drilled the third shot drop in isolation.
The drop is also one of the shots you have to master to break 5.0.
 The Dink Media Team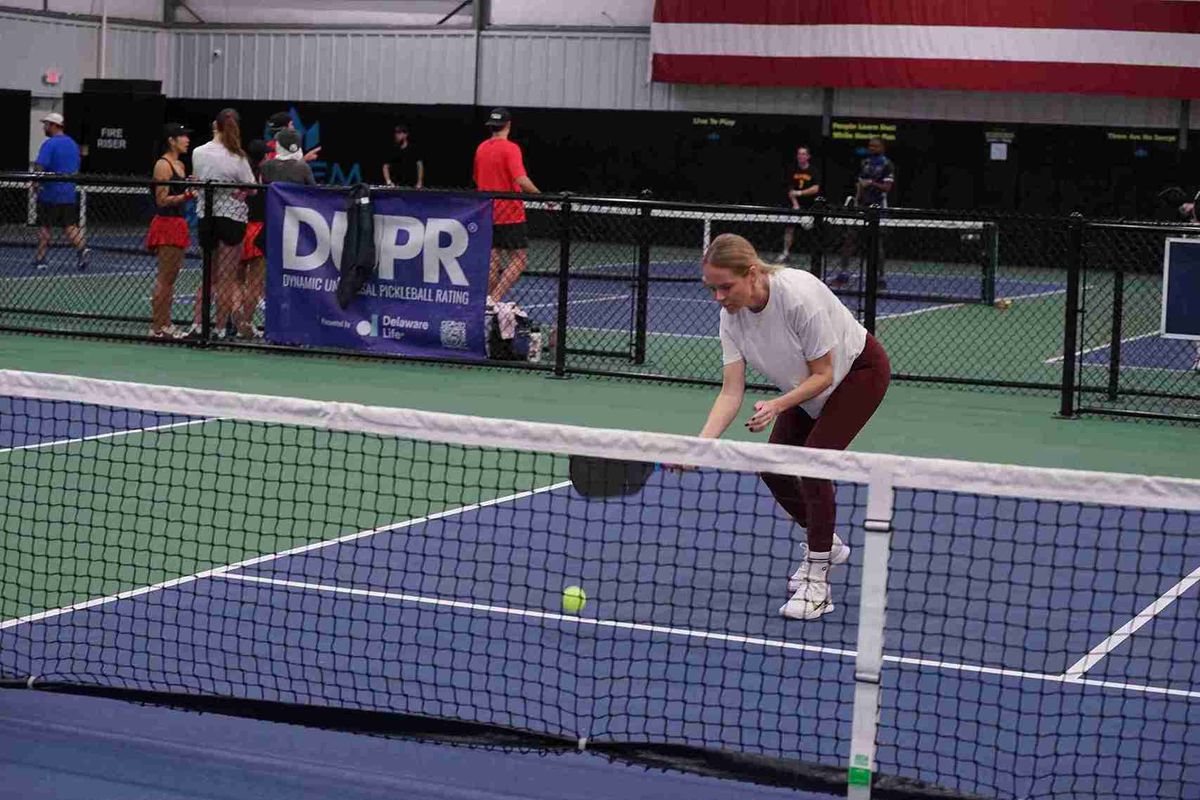
What Happens When You Mix Drives and Drops in the Same Drill?
Your net partner has to start reading you instead of just reacting. That is a completely different skill, and it is the one that separates smart players from reactive ones.
Drill 5: Dealer's Choice (Drive or Drop)
Same positions as Drills 3 and 4, but now you choose on every single ball whether to drive or drop. No pattern. No telegraphing.
Here is why this matters. When you drive every ball, your partner holds their volley position ready for pace.
When you always drop, they settle and read the trajectory early.
The moment you mix both, they cannot pre-commit.
That is exactly what happens in a real game, and it sits at the center of the four key strategies to winning modern pickleball.
When your drives and drops look similar out of your hand, opponents have a much harder time positioning.
This pickleball drill also forces honest self-assessment. You cannot hide behind a single-shot structure anymore.
If shot selection is something you struggle with in live points, Dealer's Choice builds that decision-making muscle in a low-stakes environment.
 The Dink Media Team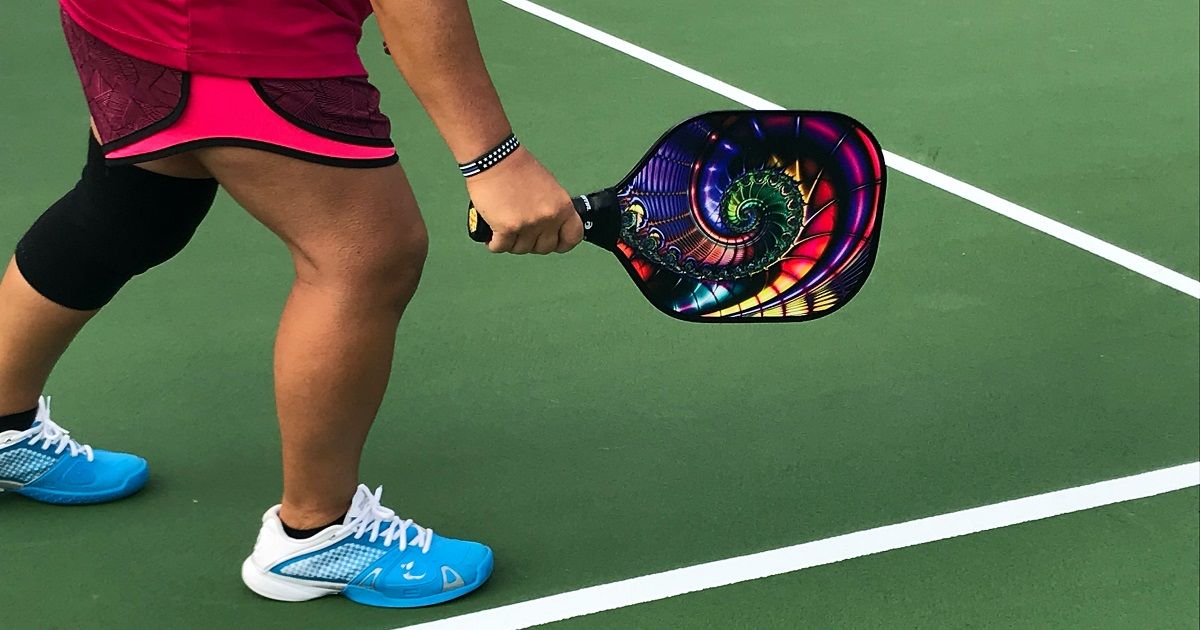
Drill 6: The Bracket Drill (Adding Movement)
The first four drills were mostly static at the baseline.
Now you add movement. Place a cone or dot a few feet in front of the baseline to create a bracket zone you pass through between shots.
The rule is simple: keep moving through that zone. Hit a drive, recover through the bracket, hit a drop, recover again.
You are practicing what happens in real points when you are transitioning forward and then getting pushed back.
Working through the transition zone is one of the most overlooked parts of practice. Most players only drill from fixed positions but games never stay fixed.
You can adjust the bracket to different parts of the court to target the areas where you feel least comfortable.
Put two cones out if you want to force yourself across a wider zone. The key is that movement stays fluid and intentional, not rushed and chaotic.
One important note: if your footwork is not solid enough to move safely at pace, slow down or work with a coach before pushing the speed.
Falls are where most serious pickleball injuries happen. There is no upside in rushing this.
 The Dink Media Team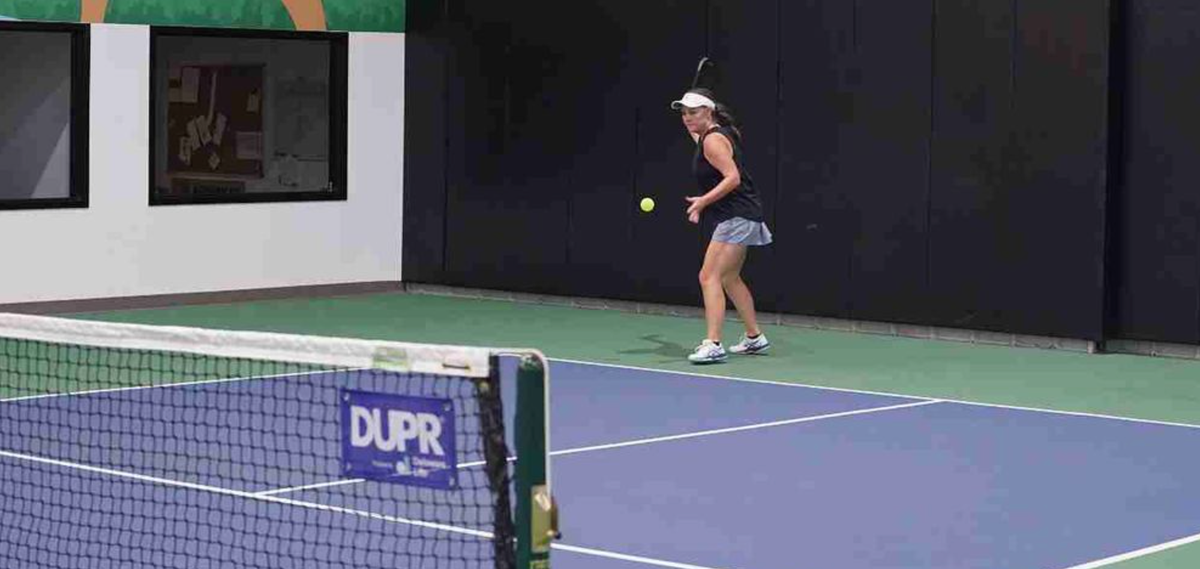
Drill 7: The Slinky
The Slinky is the most advanced pickleball drill in this sequence. You move forward toward the kitchen, hit, retreat toward the baseline, hit again, and repeat.
In and out. Back and forth.
Run it in two versions:
- Cooperative Slinky: Your partner keeps the ball manageable. Everything is relaxed and controlled, and the focus is on staying smooth. If you feel yourself scrambling, slow down.
- Aggressive Slinky: Your partner puts real pace on the ball. Now you have to read whether you can move forward or whether you need to hold and reset.
The Slinky trains what most drills skip: the ability to manage your position under pressure.
You are working your decision-making about when to move and when to stay put.
If you want to see how movement decisions change results, what elite 6.0 players think during every dink is worth reading alongside this work.
Start with the cooperative version. Trying the aggressive version first just reinforces sloppy movement.
When no partner is available, wall practice drills fill the gaps between sessions.
 The Dink Media Team
How to Put These Drills Together in One Session
Run them in order. Start with chain hitting to get your eye in, then move cross-court to build directional control.
Stack the net-versus-baseline drills next. Finish with the Bracket Drill and the Slinky if you have energy and time.
Each pickleball drill builds on the last. By the time you reach the Slinky, your drops, drives, and volleys should feel more connected than when you started.
That connection is what transfers into real points.
If you want a structured path to follow, this simple 4-step system to win more games and progressive drills to reach 5.0 and beyond both pair well with this session.
For the shots themselves, the 6 essential pickleball shots to master is the checklist to drill against.
Frequently Asked Questions
What is the best pickleball drill for improving third shot drops?
Drill 4 in this sequence, baseline drops versus net volleys, is one of the most direct ways to improve your third shot drop. You get isolated reps from a static position so you can focus entirely on keeping the ball low and landing it softly. Pair this with reading about where to place your third shot drop for faster improvement.
How do I practice volleys without a machine or a lot of equipment?
You just need one partner and one ball. Have them drive from the baseline while you stand at the kitchen line and punch the ball back. This gives you real pace to react to, which is more useful than a slow feed from a basket.
What does the Slinky drill actually train?
The Slinky trains your ability to move forward and backward through the court while keeping the ball in play. It specifically builds the skill of reading when to advance versus when to hold your position, which is a decision you face in almost every competitive rally.
How many times should I be able to keep the ball alive in these drills?
Aim for six to eight consecutive hits as a baseline target when you are starting out. As your control improves, push toward fifteen or more before a miss. The number itself matters less than the trend over multiple sessions.
Can I do these drills as a beginner or are they for advanced players?
Drills 1 through 3 are accessible for beginners. The Dealer's Choice and Slinky drills require enough ball control that true beginners may struggle to get enough reps to make them useful. Start with chain hitting, build your rally consistency, and then add the more complex drills when your baseline level supports them.

Love Pickleball? Join 100k+ readers for free weekly tips, news & gear deals.
Subscribe to The Dink