
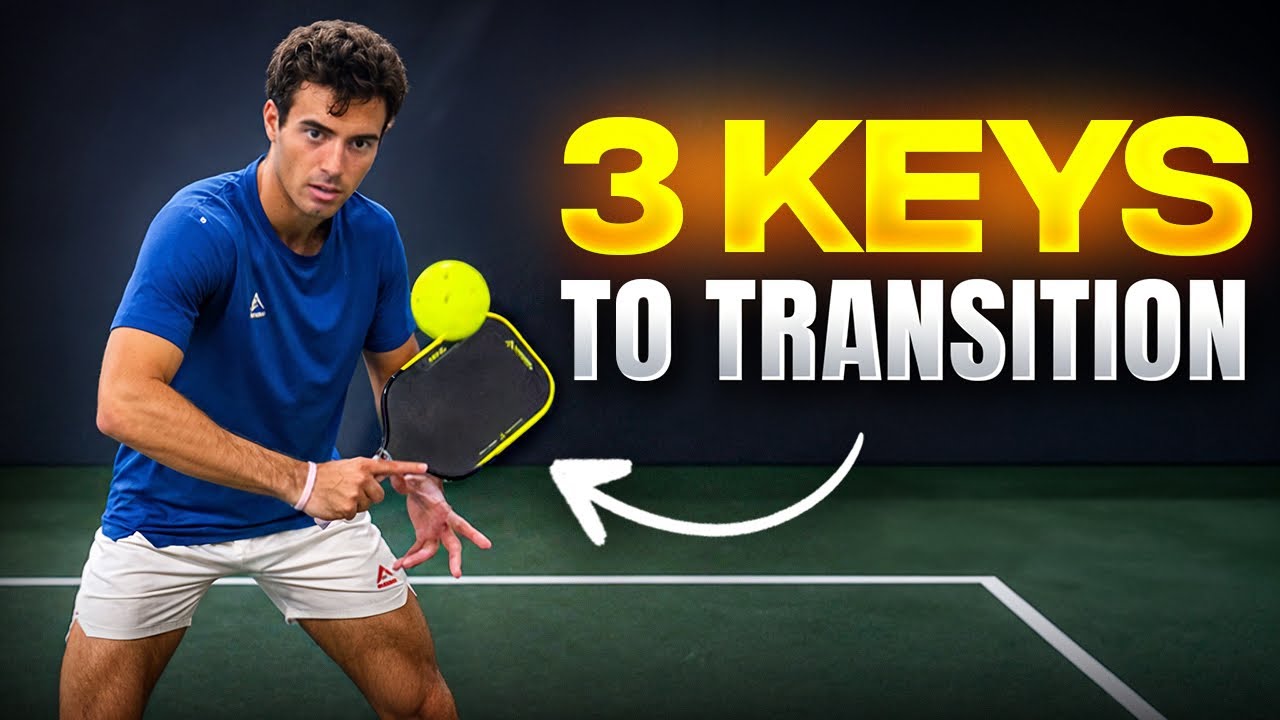
The pickleball transition zone kills more rallies than any other part of the court. This 3-zone system tells you exactly where to stand, what shots to hit, and how to stop guessing.
The pickleball transition zone is where most rallies fall apart.
You hit your third shot, you start moving forward, and then suddenly you're stuck in the middle of the court with no idea whether to defend high or dig low.
The problem is not your hands.
It's that you're treating the transition zone like one big space when it's actually three very different zones, each requiring a completely different approach.
This breakdown comes from Richard Pickleball on YouTube, who has built a clear, repeatable system for handling every step between the baseline and the kitchen.
Here's what that system looks like in practice.
Love pickleball? Then you'll love our free newsletter. We send the latest news, tips, and highlights for free each week.
Zone 1: Your Third Shot Starts Everything
Before you even think about transitioning, you need to hit a quality third shot.
And the single biggest mistake players make before the ball even leaves their paddle is crowding the baseline.
When you stand too close to the line, you end up on your heels when the return comes back fast. That forces a rushed swing with no balance and no control.
Give yourself more room. Stand a step or two behind where you think you need to be. This one adjustment alone will clean up a huge percentage of weak thirds.
What does a good third shot swing actually look like?
Three things matter here, and they all work together:
- Give yourself space. Stand further back from the baseline than feels natural. You can always step in for a short return, but you cannot create space when the ball is already on you.
- Get low and stay low. Do not pop up through the shot. Your weight should stay forward and your knees should stay bent from start to finish.
- Lengthen your swing. This is the one most players ignore. A long, slow swing gives you more time on the ball, more spin, and more accuracy. Short and slappy is the enemy.
The speed of your swing matters less than the length of it. A slow swing with full follow through beats a fast, choppy one every time.
This connects directly to what good wrist lag does to your contact.
For the slice third, push through slowly with a long finish. For the roll third, same principle: long all the way to your shoulder, forehand or backhand.
Even on the drive, the follow through should be complete.
Reading the return early matters too. If your opponent swings slowly, the ball is probably short, so take one step in before it lands.
One step is enough, and it keeps you from getting burned by a deep one.
The Zone Nobody Talks About: No Man's Land
No man's land is the two steps in the middle of the court, more than two steps from the baseline and more than two steps from the kitchen line.
This is the hardest spot on the entire court to defend.
Here's why. Your opponent can hit a fast ball at your chest or a slow ball at your feet, and both are live.
There is no information to eliminate.
The goal is simple: get through no man's land as fast as possible. You want to be in T1 or T2, never floating between them.
The faster you clear it and get established, the more control you own over the rally, which is the same logic behind the four key strategies winning matches in 2026.
If you keep getting stuck here, the traffic light trick and these transition zone traps to avoid are worth stealing.
T1: The Short Hop Zone
T1 is one to two steps inside the baseline, and it has exactly one job: short hops. Every ball you touch in T1 should be a short hop.
Here's the insight that changes this zone.
If a ball reaches you above your belly button while you're standing in T1, it is out, per the official rules governing balls landing beyond the baseline.
That single piece of information cuts your decision-making in half.
Keep your paddle low. Stay low. Let anything above the waist go.
What are your four options from T1?
- Great short hop: Move all the way to the kitchen in one movement.
- Decent short hop: Move up to T2 and reset from there.
- Weak short hop: Stay in T1 and wait for a better ball before advancing.
- Pop up: Back up. Do not try to attack a ball you floated. Retreat and reset.
When things go sideways in T1, just push the ball deep. High and deep is fine from back here because you have so much court behind you.
Keep pushing until you get a short hop worth working with.
This is where midcourt forehand reset reps pay off, and where your read on depth becomes a weapon.
T2: The Reset and Counter Zone
T2 is one to two steps behind the kitchen line, and it's the opposite of T1 in almost every way. Most players set up completely wrong here.
In T2, your paddle needs to be up, not down.
Your opponent physically cannot hit a hard ball at your feet from that distance because the ball has to travel too short a distance to build pace before reaching the ground.
If they go low, it's going to be slow.
That means you cover one area: above the waist. Park your paddle up and be ready to counter or reset from there.
How do you reset when pace is coming hard at you in T2?
Two options work well here depending on your style.
- With a one-handed reset, you are absorbing pace softly and redirecting the ball back into the kitchen. This is the traditional approach and it rewards feel and touch. The most common reset failures come from taking the paddle back too far or tensing up through contact.
- With a two-handed backhand reset, you are more like a backboard. You bump the ball back with consistent pressure. It tends to go a little deeper and more linear, which makes it harder for your opponent to attack on the next ball.
If they are using a lot of pace, the two-hander can be a real weapon here.
In T2, you can also be aggressive when the moment calls for it.
Since you know feet-level balls will be slow, you can sit high, counter anything that comes above the waist, and still handle the low stuff without panic.
Working on backhand consistency drills from this position will pay off fast. Most players drill from the kitchen, but T2 is where the reps actually need to happen.
Also consider shot selection rules when you are camped in T2. When the ball is high, you can swing.
When it is low, you reset. The zone tells you what to do if you let it.
 The Dink Media Team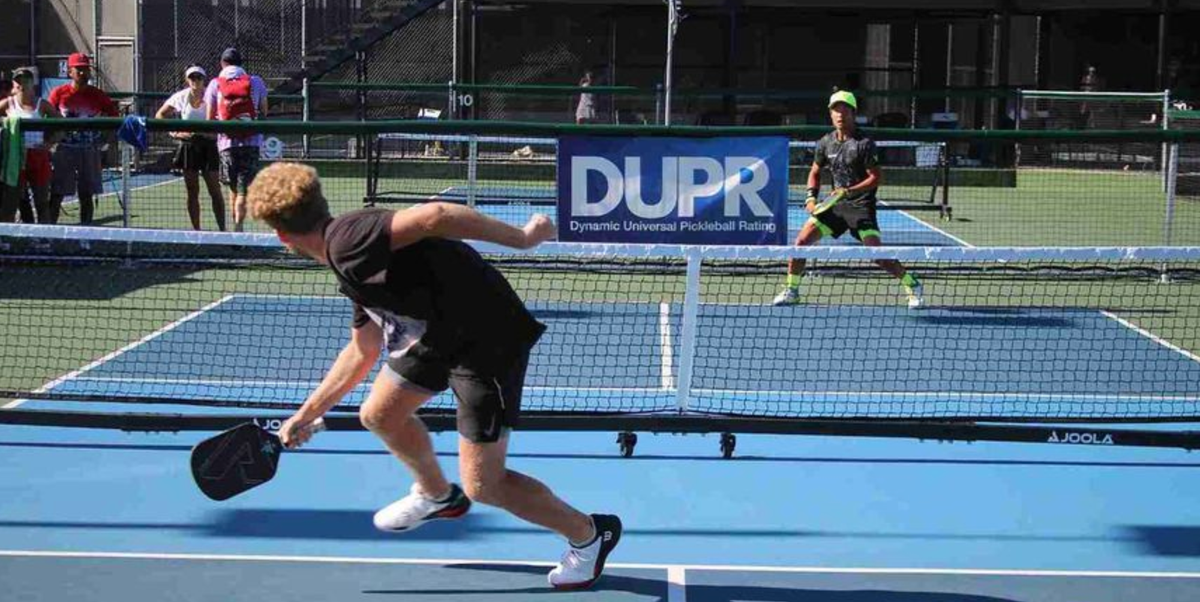
Putting the System Together
The three zones work as a connected sequence, not isolated positions. You hit your third, advance into T1, read the quality of your shot, and decide how far to move.
Great third, go all the way to the kitchen. Decent third, land in T2 and work from there. Mediocre third, stay in T1 and rebuild.
If you popped it up, back off and reset the point.
Every zone simplifies your decision-making. T1 is all low. T2 is all high. No man's land is both, which is exactly why you spend as little time there as possible.
Getting reps in each zone separately trains your instincts faster than playing full points, and repetition is what converts conscious reads into automatic ones, a finding motor learning research has held up for decades.
Drill T1 short hops, drill T2 resets, and use wall drills when a partner isn't available. If you want a full program, these are the 12 drills you need in 2026.
Pay attention to third shot drop placement too. Bad thirds create no man's land problems.
Good thirds make the pickleball transition zone feel smooth.
Finally, connect this to handling pace and spin at your feet so an unexpected ball in transition doesn't rattle you. It's the same foundation behind the shots you must master before 2026.
The pickleball transition zone is not random. Break it into three parts, play each one with a clear role, and you'll stop dying in the middle of the court for good.
Frequently Asked Questions
What is the pickleball transition zone?
The pickleball transition zone is the area of the court between the baseline and the kitchen line that players must move through after hitting a third shot. It is the most challenging part of the court because opponents can attack both your feet and your chest when you are stuck in the middle of it.
What is no man's land in pickleball and why is it so dangerous?
No man's land is the two steps in the center of the transition zone, roughly three to four steps from both the baseline and the kitchen line. In this position, your opponent can keep a hard ball at your chest in bounds or drop a soft ball at your feet, forcing you to cover both threats simultaneously. The goal is to move through this area quickly and get to T1 or T2 where your coverage becomes much simpler.
How do you hit a better third shot drop in pickleball?
Start by giving yourself more space behind the baseline so you are not hitting off your back foot. Stay low through the entire shot and use a long, slow swing with full follow through rather than a short, punchy one. The length of the swing gives you more time on the ball and produces more consistent spin and placement. For more on this, see six third shot drop techniques that address the most common mistakes.
Where should your paddle be when you are two steps off the kitchen line?
Your paddle should be up, sitting around chest height, when you are in T2 (one to two steps behind the kitchen line). Your opponent cannot generate pace at your feet from that distance, so any ball coming at your ankles will be slow enough to handle easily. Keep your paddle high and be ready to counter or reset above the waist.
How do you practice transitioning in pickleball without a partner?
Wall drills are one of the best ways to build transition mechanics without needing a court partner. You can work on short hops, reset touch, and paddle positioning by simulating the pace and angles you face during live play. Check out 14 pickleball wall drills that build real game skills for a full breakdown of what to work on.

Love Pickleball? Join 100k+ readers for free weekly tips, news & gear deals.
Subscribe to The Dink