
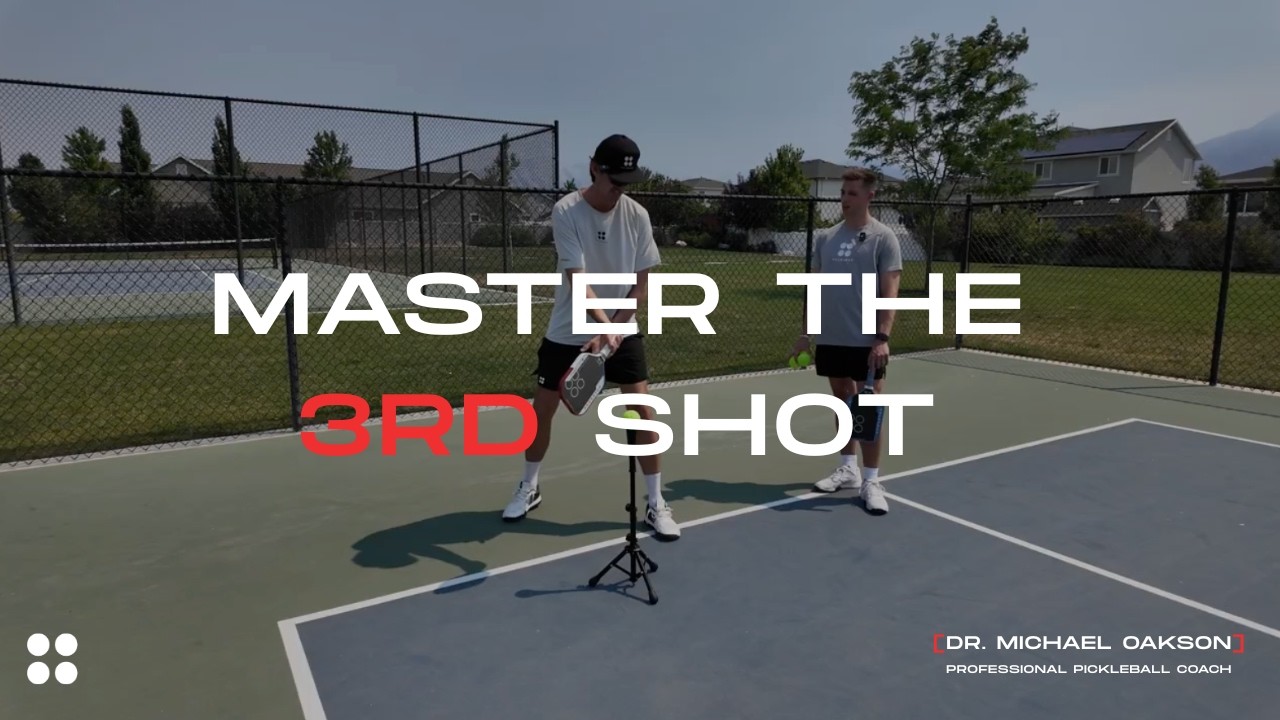
The third shot drip is a hybrid shot blending a drop and a drive, and top players are using it to take control of rallies early. Here are the 3 steps to hit it consistently.
Your third shot is costing you points, and most players do not even realize it.
You are either driving the ball flat into the net or floating a drop that sits up and gets punished at the kitchen line.
There is a better option.
The third shot drip is a hybrid between a drop and a drive, and high-level players are using it to create problems that opponents cannot solve cleanly.
This breakdown comes from Holbrook Pickleball on YouTube, where they walk through the full technique and strategy behind the drip in clear, repeatable steps.
Here is exactly what you need to know.
Love pickleball? Then you'll love our free newsletter. We send the latest news, tips, and highlights for free each week.
What Is the Third Shot Drip?
The third shot drip sits right between a drop and a drive.
It carries more pace than a traditional drop but loads the ball with heavy topspin, so it still dips aggressively as it crosses the net.
The goal is simple.
You want the ball to land about one foot outside the kitchen line on your opponent's side, and that margin is intentional, not a mistake.
When it lands there, your opponent faces two bad choices.
They can take a low, dipping volley off a ball that's still moving fast, or they can step back and deal with a high-kicking bounce off all that spin.
Neither option is comfortable. That's the whole point.
The pickleball drip earns its spot alongside the other essential pickleball shots to master right now.
Knowing how it fits between a third shot drive and a soft drop makes the whole third-shot decision tree much clearer, and it pairs naturally with the hybrid roll that advanced players lean on.
Step 1: Footwork and Paddle Takeback
The first thing to dial in is your setup. The drip is not a drive, so you do not need a big backswing.
A large takeback generates too much power and flattens the ball out.
Here is the key cue: drop your right knee (for right-handed players) into position, and use that knee as a physical block to limit your paddle takeback.
Your paddle should not travel past your right knee or right hip.
You also want to avoid two extremes with your stance. Do not set up fully open to the net, and do not fully close your shoulders off either.
Land somewhere between the two.
Your non-dominant shoulder becomes a natural guide for where you are sending the ball.
This is why you rarely see top players dripping from a fully linear position.
When you close all the way off to go down the line, you become easy to read, and clean footwork is what keeps that middle body angle repeatable.
- Paddle should not travel past the right knee or right hip on the takeback
- Stance should be neither fully open nor fully closed
- Use your non-dominant shoulder to guide direction
- Drop the right knee to naturally limit backswing length
This compact setup connects directly to one of the most common patterns coaches see.
Players who struggle with third shot drop placement are almost always taking too much backswing and generating the wrong kind of pace.
Step 2: Paddle Drop and Contact Point
This is the most important mechanical step. Skip it and the third shot drip simply does not work.
You need to drop your entire paddle below the height of the ball before contact.
If your paddle isn't below the ball, there's no brushing action, and no brush means no topspin.
No topspin means no dip, and a ball that doesn't dip either finds the net or sits up for an easy attack.
Here's a fast self-check: if you don't feel your paddle drop below your knee during the swing, the drip won't perform the way you want.
That low paddle path creates the upward brushing motion that loads the ball with spin.
Think about what that spin does. The ball travels with speed and then bites down hard on the other side.
A flat shot with decent speed is manageable. A ball that speeds up and then suddenly drops is not.
For more on how contact mechanics work across shots, this complete topspin progression guide goes deeper on the brushing action, and these common topspin mistakes cover what usually breaks first.
 The Dink Media Team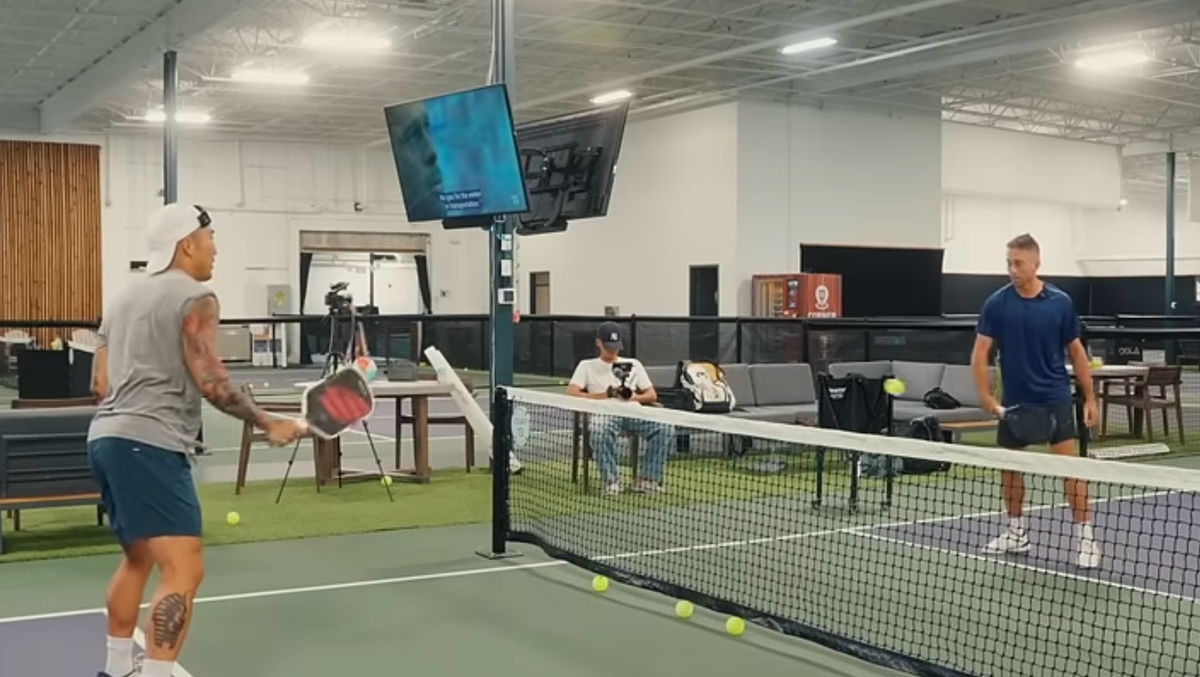
Step 3: The Follow-Through Sweet Spot
Most players get the first two steps right and then blow it on the follow-through. There are two ways to go wrong here, and they are exact opposites.
- Too much extension: If you extend fully through the ball without lifting, the shot comes out flat. A flat drip will catch the net or sit up without enough arc to dip on the other side.
- Too much lift: If you brush straight up the ball without extending, you get a lofty, looping ball. That is basically just a drop without any pace behind it. Good players at the kitchen will time that and attack it.
The right follow-through lives between those two extremes.
You want to break through the ball with some extension and then bring your paddle up toward your shoulder.
It is not a full drive extension and it is not a full lift.
It is a blend of both that creates shape on the ball while keeping enough pace to stress your opponent.
- Start paddle drop below the knee, brushing upward on contact
- Extend through the ball, but not to a full arm extension
- Finish with paddle rising toward the shoulder
- The result should be a ball with arc that dips sharply past the kitchen line
 The Dink Media Team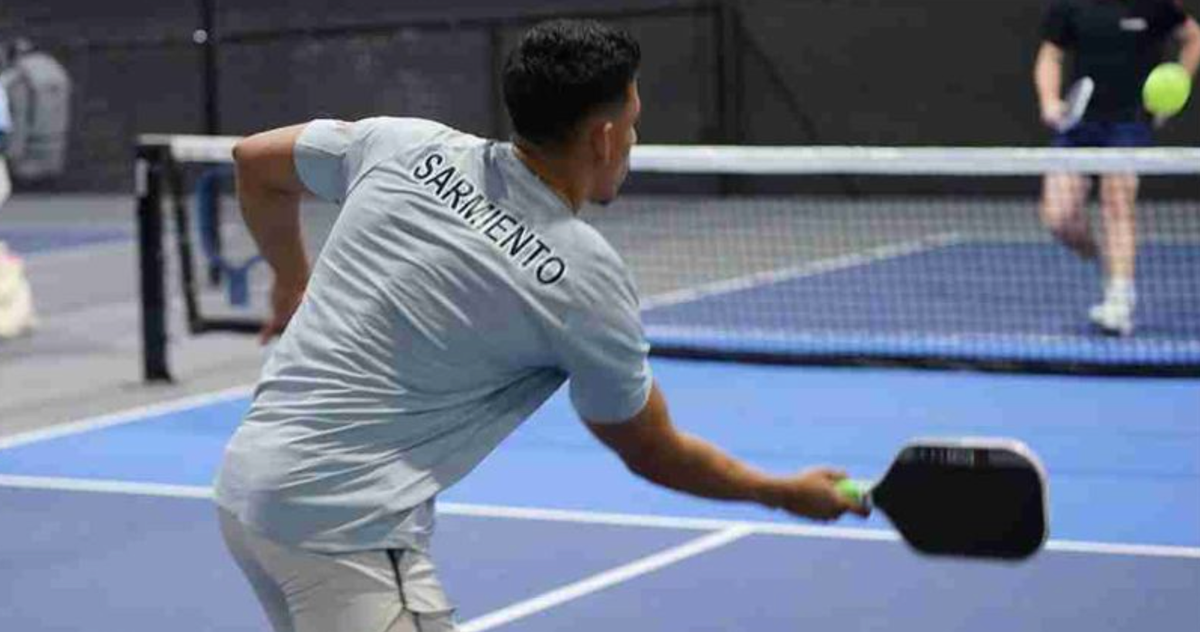
Where Should the Drip Actually Land?
Target about one foot outside the kitchen line.
Not in the kitchen, not mid-court. Right past the line, which USA Pickleball's official rules define as the non-volley zone boundary your opponent has to respect.
When the ball lands there, the opponent at the kitchen has to decide fast.
Reaching to volley means taking a low ball still moving with pace and spin, which is an ugly contact angle.
Stepping back isn't better, because the topspin kick makes the ball awkward to attack from a neutral position.
Good players reading a well-hit drip watch the opponent's paddle angle.
If the paddle closes downward trying to handle that low volley, the ball often pops up. That's your cue to crash forward and attack the fifth shot.
If your drip lands early and the opponent gets a comfortable, high contact point, don't crash.
Slow your transition, stay patient, and reset the point from a safer position.
Knowing when to attack and when to wait is what separates a smart third shot from a reckless one.
 The Dink Media Team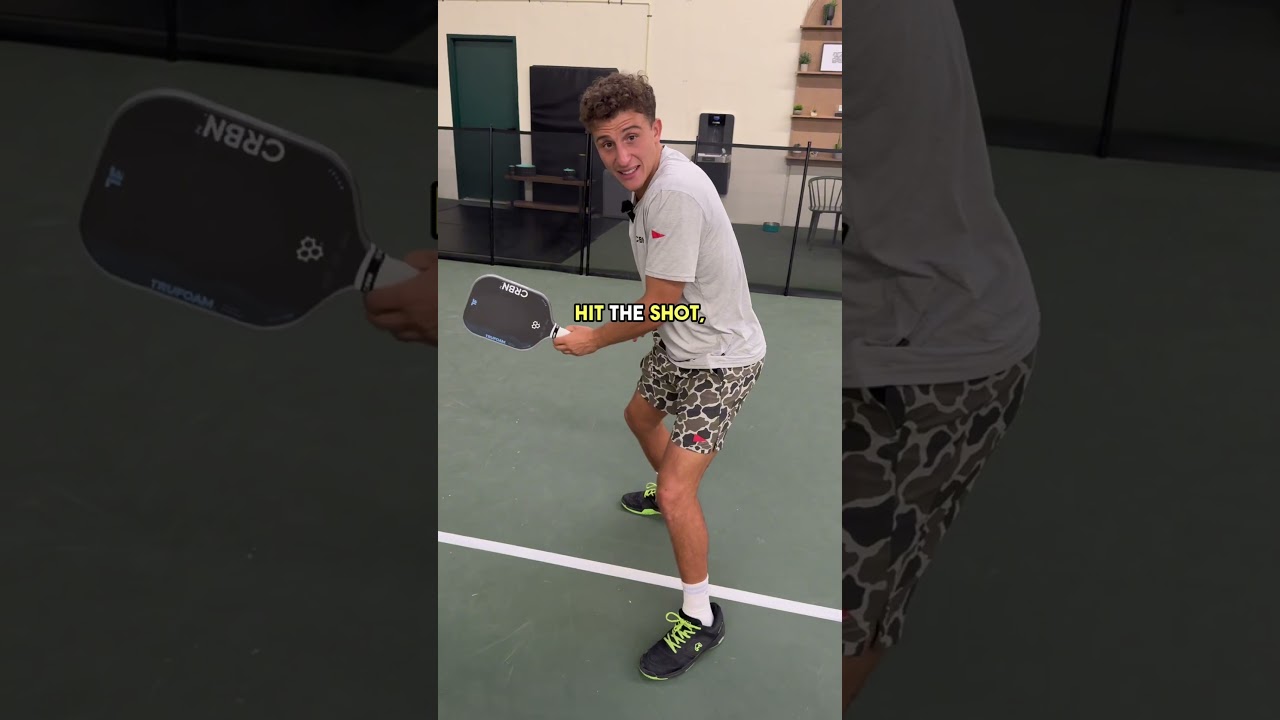
Why Does This Shot Work at Higher Levels?
The drip works because it forces your opponent to process two variables at once: pace and spin.
Players at 3.5 and below are comfortable handling soft drops or hard drives, not a ball that looks like a drive and then dives past the kitchen line.
At 4.5 and 5.0, players have seen enough drops to step in and attack them confidently. The third shot drip disrupts that timing completely.
Even top players struggle when a ball carries drive-level pace but kicks down at their feet instead of staying in the comfortable volley zone.
It's the same reason pros walked away from the slice shot and leaned harder into topspin.
If you want the full menu, here's when to use each of the five third shots.
The drip earns its place as one of the most effective options in the toolkit, and it belongs on any list of shots you must master before 2026.
Kitchen arrival percentage matters here too.
The drip is built to get you forward more often and more safely than a standard drop, which is exactly the goal behind mastering the transition from baseline to kitchen line.
 The Dink Media Team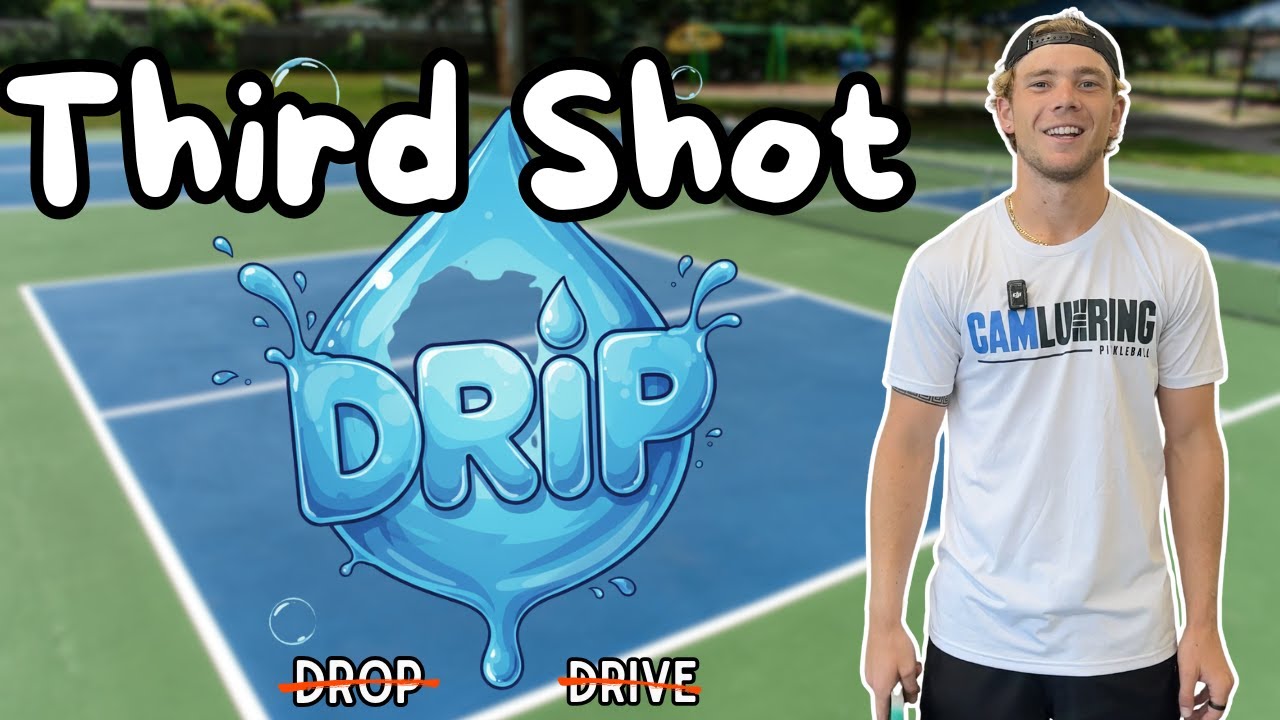
The Close-Range Topspin Drill
This drill isn't conventional, but it works.
Stand about an arm's length from the net, drop the ball so it bounces to roughly knee height, then brush it over and land it before the kitchen line on the other side.
That distance makes topspin mandatory. Generate too little spin and the ball sails long, because there's no way to fake it from that close.
The drill isolates the exact swing mechanic the third shot drip requires. The full-court version uses more distance and pace, but the brushing action is identical.
Getting that feel from close range builds muscle memory faster than hitting from the baseline with no feedback.
Stack it with the rest of the 12 drills you need this season and you'll see it transfer quickly.
If your ball keeps landing outside the kitchen during this drill, your paddle is still too level at contact.
Drop it lower and brush harder, because the fix is almost always the same.
For solo reps between court sessions, wall drills are a great supplement.
 The Dink Media Team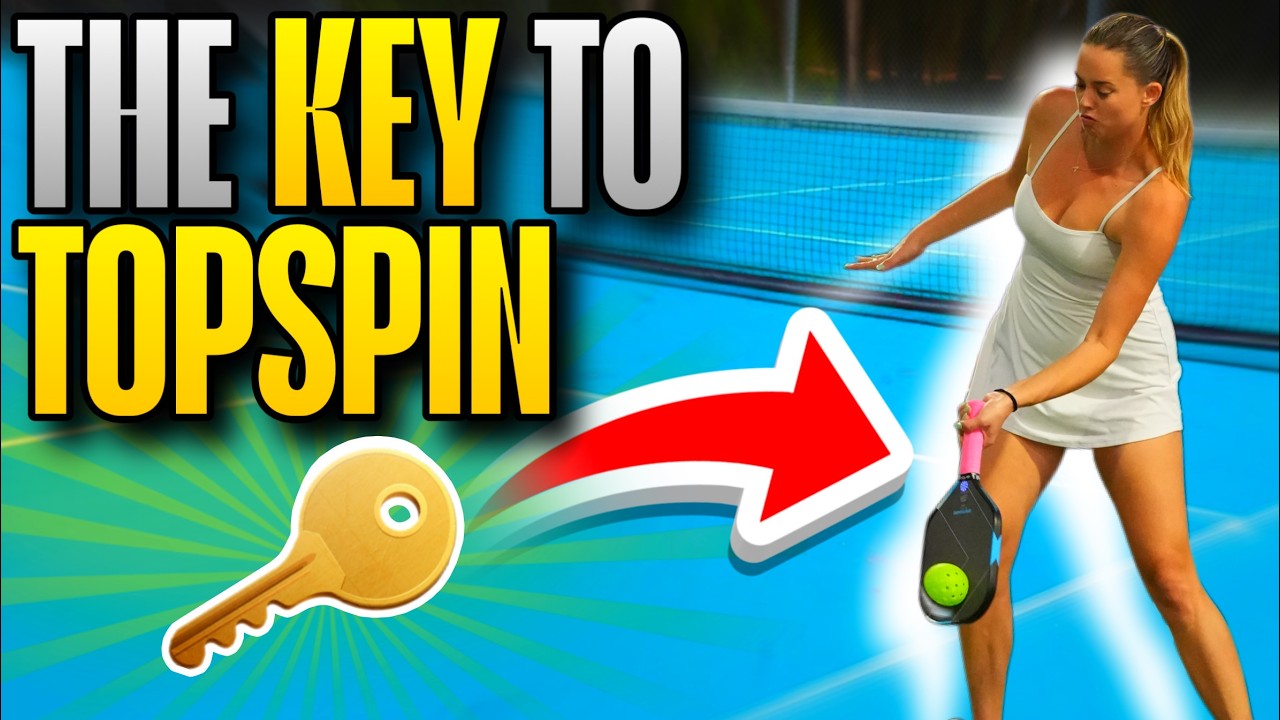
Split Step Timing After the Drip
Your shot is only half the equation. What you do after the ball leaves your paddle matters just as much.
The most common mistake when learning the drip is continuing to move while the opponent hits their response.
Split step the moment your opponent's paddle approaches the ball, stop completely, then read and react.
Drifting through your shot is a timing trap. You end up off balance and reaching instead of loading into a clean attack.
Court position matters, but not more than balance at contact.
Fixing that timing changes how well you execute the fifth shot, and it fits inside the same four-step system for winning more games.
If you want the full picture, these quick fixes to two common third shot drop mistakes carry over to the drip directly.
Frequently Asked Questions
What is the difference between a third shot drop and a third shot drip?
A traditional third shot drop is a soft, arcing shot designed to land in the kitchen with minimal pace. The third shot drip adds more pace and heavy topspin so the ball lands just outside the kitchen and bites down hard, giving the opponent a low, fast ball instead of a comfortable soft one.
Where exactly should the third shot drip land?
The ideal landing zone is about one foot outside the kitchen line on your opponent's side. This forces them into a difficult low volley or an awkward high-kick bounce off the topspin, and neither option is easy to attack from.
How do I generate enough topspin on the drip?
Drop your paddle below the height of the ball before contact and brush upward through the ball at an angle. If your paddle is level with the ball or above it, you will get a flat shot with no topspin. The paddle must drop below your knee for the brushing effect to work.
When should I crash the net after hitting a drip?
Crash when you see your opponent's paddle angle close downward on a low volley, which often produces a pop-up. If your drip lands early and they get a high contact point, hold your position and do not rush forward. Read their paddle before committing to a crash.
Can I hit the drip from the backhand side?
Yes. All three mechanical steps apply equally to the backhand side. Most coaches recommend mastering the forehand version first since it is your dominant side, then transferring the same paddle drop and brushing mechanics to the backhand once the forehand is consistent.

Love Pickleball? Join 100k+ readers for free weekly tips, news & gear deals.
Subscribe to The Dink