
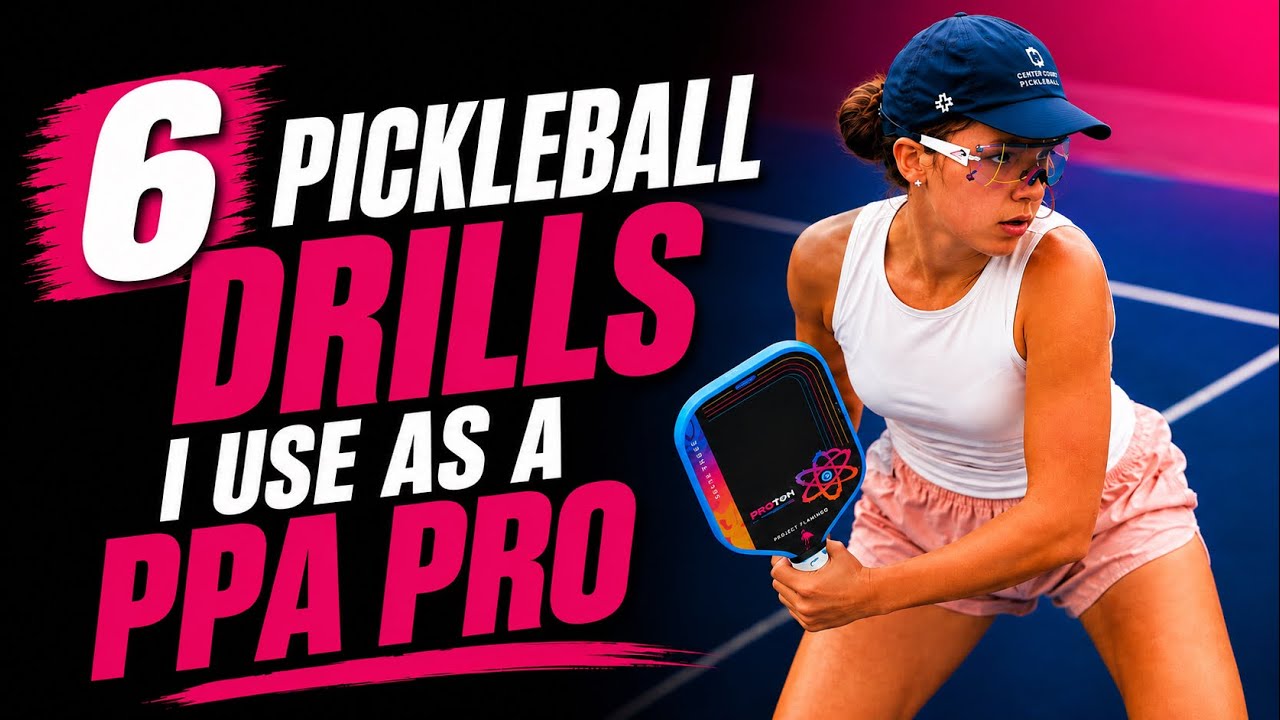
How a PPA Pro Structures a 90-Minute Drilling Session (Step by Step)
Most players show up to drill without a real plan and wonder why their game doesn't improve. Here's exactly how a PPA Pro structures a 90-minute pickleball drilling session from start to finish.
Most players waste their pickleball drilling session by jumping around with no clear order or purpose.
They hit a few dinks, mess around with some drives, and call it practice. That's not how pros do it.
PPA Pro Kelly Goodnow follows a deliberate structure every single time she drills.
There's a warm-up phase, a skill-building phase, and a competitive finish. Each part feeds the next.
This breakdown shows you exactly what a 90-minute pickleball drilling session looks like, so you can stop winging it and start actually improving.
This content comes from Kelly Goodnow on YouTube, where Kelly walks through her full session in real time.
Love pickleball? Then you'll love our free newsletter. We send the latest news, tips, and highlights for free each week.
Why Your Practice Sessions Aren't Working
If you show up to drill without a plan, you're just hitting balls. That's not the same as practicing with intention.
The difference between a recreational player's practice and a pro's practice isn't time on court. It's structure.
Kelly Goodnow follows the same sequence every session because consistency in process creates consistency in results.
When you know what comes next, you don't waste mental energy deciding. You just execute. That matters more than most players realize.
If your drilling isn't working, the structure is usually the problem before technique even enters the conversation.
Step 1: Always Start With Straight Dinks
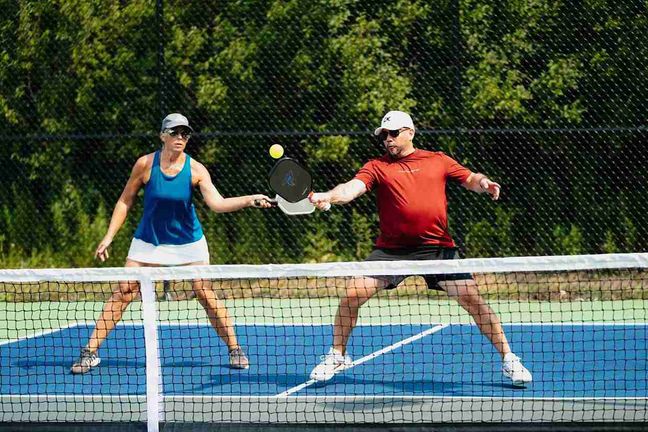
Straight dinking is where every pickleball drilling session begins. Not drives. Not serves. Dinks.
This isn't a warmup throwaway. Straight dinks force you to control pace, depth, and height from the very first ball.
Your hands reconnect with the paddle and your feet find their positioning before anything athletic is asked of you.
Kelly starts here specifically because it's the lowest-pressure way to establish feel.
You're not reacting to pace or spin yet. You're just building the baseline of touch you'll need for everything that follows.
If you skip this step and jump straight into harder shots, you'll spend the first 20 minutes making errors that have nothing to do with skill.
They're just cold hands.
Step 2: Move to Cross Court Dinks
Cross court dinks come next, and they are not the same drill with a different angle. The geometry changes everything.
You're hitting over a higher part of the net, covering more distance, and dealing with a different margin for error.
Your target shrinks and your patience gets tested faster. That's the point.
Kelly uses this phase to work on her backhand flick specifically.
Right now she's focused on bringing that shot into real game situations, so she reps it here in a low-stakes context.
Use this phase the same way: identify one shot you want to sharpen in games, and drill it repeatedly during cross court dinking.
Real backhand dink consistency comes from exactly this kind of focused, repetitive work before the session gets harder.
For more on the mechanics behind a snap backhand attack, the flick tip position fix is worth reading alongside this.
 The Dink Media Team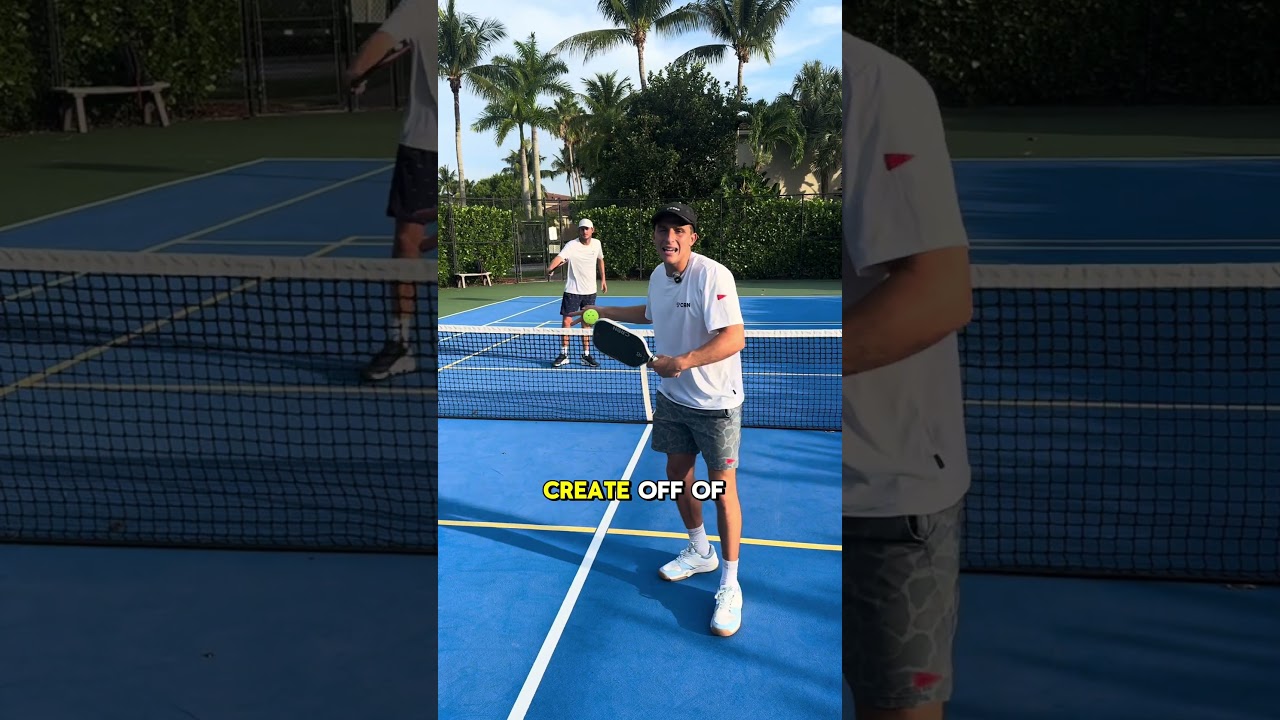
What Makes This Structure Different From What Most Players Do?
Most players move to competitive play too quickly. They dink for five minutes, feel ready, and immediately start playing points.
The problem is that drilling and playing require different mental modes.
Drilling is about deliberate repetition. Playing is about reading and reacting. When you rush from one to the other, you never fully enter either mindset.
Kelly's pickleball drilling session keeps these phases clearly separated. You dink until your hands feel right. Then you build to your target skill.
Then you compete. That sequence respects how the brain actually adapts to new patterns.
 The Dink Media Team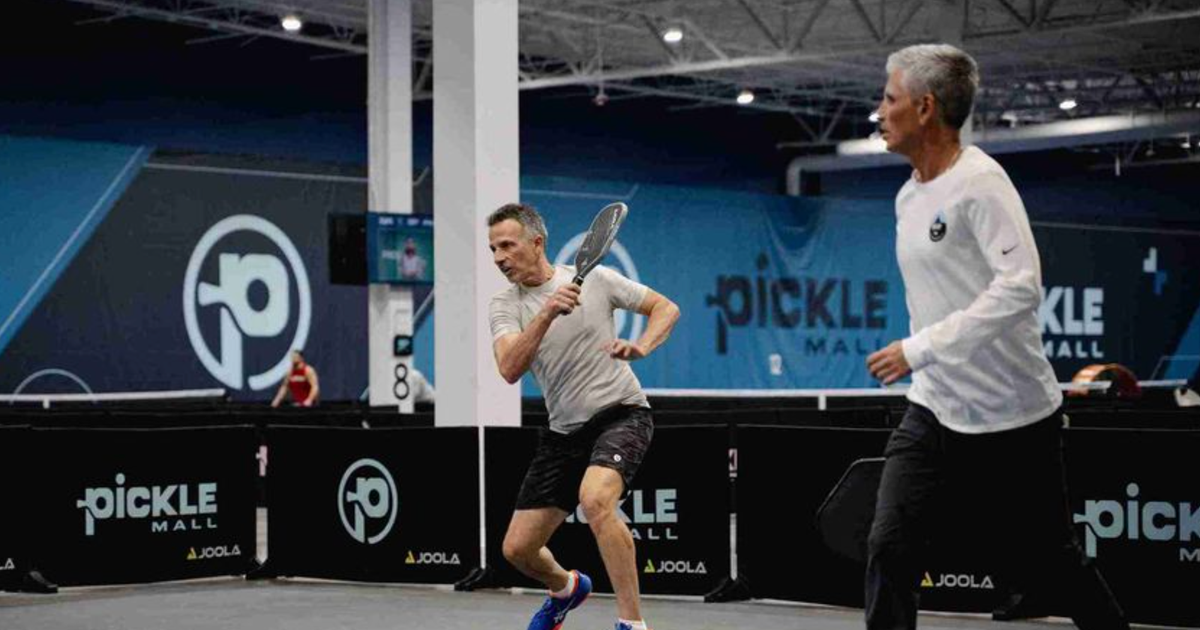
Step 3: Target What You Actually Need to Fix
After dinking, Kelly moves to the drill she designed specifically for her current weakness.
This is the most important phase of any serious session and the one most players skip entirely.
She created a sequence that looks like this:
- Her partner serves
- Kelly hits the return
- She unwinds from a stack position
- Her partner hits a third shot at her
- Kelly counters it down
That's not a random drill. That's a real game pattern she identified as something she was losing points on. She built a drill around that exact moment.
Her note during the session is worth paying attention to: "Fours are so much harder to hit when you're unwinding."
That's a pro acknowledging that movement changes everything.
The fourth shot counter that feels comfortable standing still becomes a completely different skill when you're moving laterally out of a stack.
This is the phase where you should ask yourself: what situation do I keep losing points in?
Then build a drill that recreates it exactly. Not something close to it.
The exact scenario.
Understanding the transition zone is critical here, because many of these fourth-shot counters happen while you're still moving toward the kitchen line.
 The Dink Media Team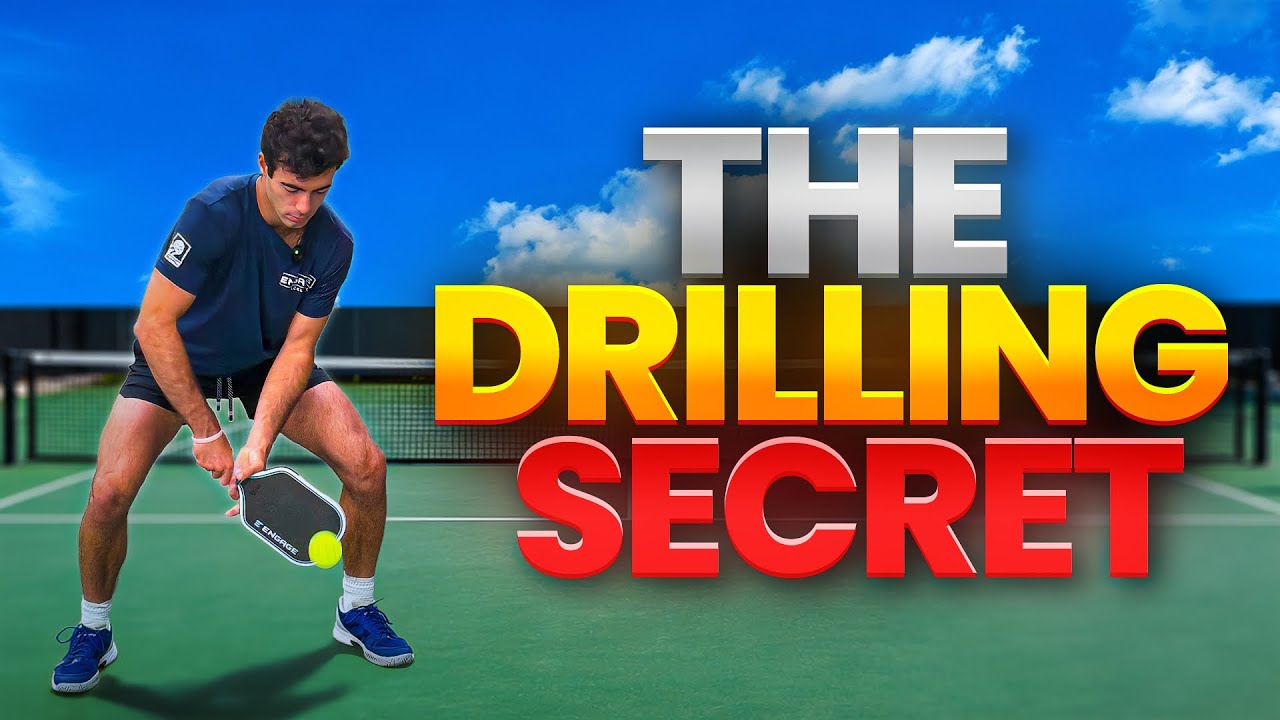
How Do You Know Which Weakness to Target?
The answer is simpler than you think: track your losses mentally. After your next few matches, identify the pattern. Are you losing points on the fourth ball?
On the third? On resets after a speed-up? That's your drill target.
Kelly didn't pull this drill out of nowhere. She noticed something specific in her game and designed a rep structure around fixing it. That's the pro approach.
Most recreational players never do this because they're not watching their own patterns closely enough.
If you want to improve faster, see what drills a PPA pro still uses every practice and notice how specific each one is to a real game situation.
 The Dink Media Team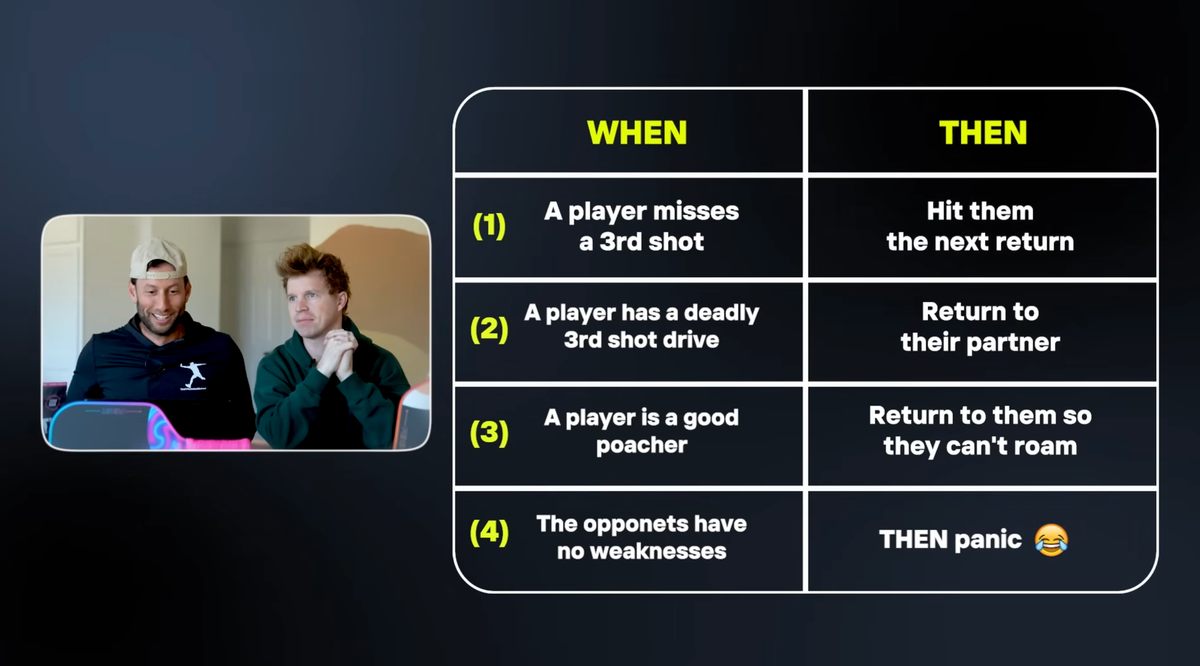
Step 4: Dedicated Third Shot Work
Third shots come near the end of the drilling portion, not the beginning.
By the time Kelly gets here, her hands are warm, her feet are moving, and her competitive instincts are already engaged.
That's when you want to practice your most important shot.
The third shot drop is the single most consequential shot in doubles pickleball.
If you're missing it consistently, you never get to the kitchen. You stay back, you get attacked, and you lose.
It's that direct.
Kelly spends significant time here, hitting repetition after repetition. Not because she's bad at it.
Because even pros know that third shot drop placement requires constant maintenance.
Here's what to focus on during your own third shot work:
- Arc height: the ball needs to peak high enough to drop steeply into the kitchen
- Landing zone: aim for the middle of the non-volley zone, not tight to the net
- Pace control: slower is usually better than harder for beginners and intermediates
- Reset mentality: if the third is off, your fourth must compensate immediately
For players still building this shot, losing points after you serve often comes back to third shot mechanics. Read that after watching Kelly's session.
The apex fix for the third shot drop is one of the most practically useful adjustments you can make if your drops keep landing short or clipping the net.
 The Dink Media Team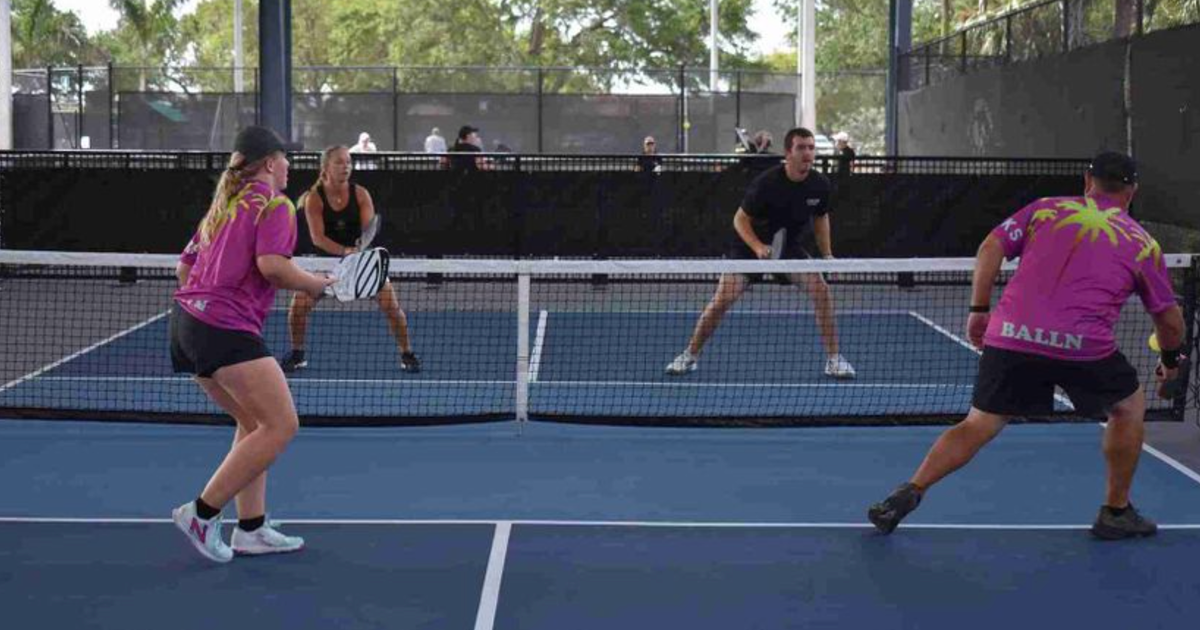
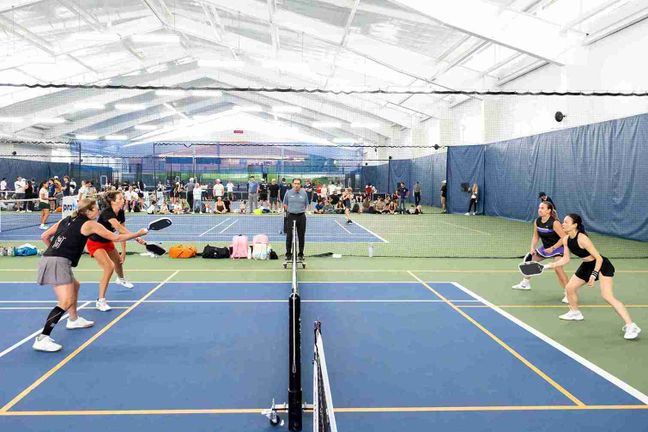
Step 5: Compete to Finish
Every session Kelly runs ends with competitive play.
The phrase she uses at the end of her session is "winner takes all." That's not accidental. It's pressure practice.
You need to finish your drilling session in a competitive context for one reason: the skills you've been building need to hold up under pressure.
If you only ever drill in low-stakes repetition, you won't know how they perform when the score matters.
Ending on competitive points also reinforces that drilling has a purpose.
You're not drilling for its own sake. You're drilling so that you can perform better when it counts.
Think about the warm-up drills top pros never skip as a framework for how warm-up and competitive play should sit on opposite ends of a well-structured session.
 The Dink Media Team
The Full 90-Minute Framework at a Glance
Here's how Kelly's session breaks down in sequence:
- Stretch and physically prepare before touching a paddle
- Straight dinking to build touch and foot positioning
- Cross court dinking, with a specific shot in focus (like the backhand flick)
- Custom drill targeting a current game weakness (serve, return, stack, counter sequence)
- Extended third shot drop repetitions
- Competitive play to close the session under pressure
That's it. Six phases. Each one builds on the last.
Nothing is random.
If you're currently playing at a 3.0 level and working toward 5.0, this kind of structured session is exactly what separates players who improve quickly from those who plateau for months or years.
The step most players skip when building a flick is also worth reviewing if you're using the cross court dinking phase to sharpen that specific weapon.
Frequently Asked Questions
How long should I spend on each phase of a pickleball drilling session?
A 90-minute session works well split roughly like this: 10 minutes of straight dinks, 15 minutes of cross court dinks, 20 to 25 minutes on your target weakness drill, 20 to 25 minutes on third shots, and the final 15 to 20 minutes on competitive play. Adjust based on what needs the most work.
What is a stack unwind drill and why does Kelly use it?
A stack unwind drill recreates the moment after a return when one player has to move laterally out of a stacked position before hitting their next shot. Kelly uses it because the movement changes the difficulty of every shot that follows. Practicing this pattern helps you handle the fourth ball cleanly even when your feet aren't set.
Should I always start a drilling session with dinking?
Yes, starting with dinking is the right call for almost every player. It builds touch before pace, keeps errors low early in the session, and creates a calm mental state before harder shots are introduced. Kelly Goodnow follows this sequence even as a PPA Pro.
How do I identify the right weakness to drill in the middle phase?
Track which situations cost you the most points in real matches. If you're losing rallies on the fourth ball after a stack, drill that. If your third shots are landing in the net, drill those.
The middle phase of your session should recreate the exact pattern where your game breaks down.
Why end a drilling session with competition instead of more repetition?
Drilling builds skill in a low-pressure environment, but competition tests whether that skill holds under stress. Ending with competitive points closes the loop between practice and real play. It also gives you immediate feedback on whether the skills you drilled are actually transferring.

Love Pickleball? Join 100k+ readers for free weekly tips, news & gear deals.
Subscribe to The Dink