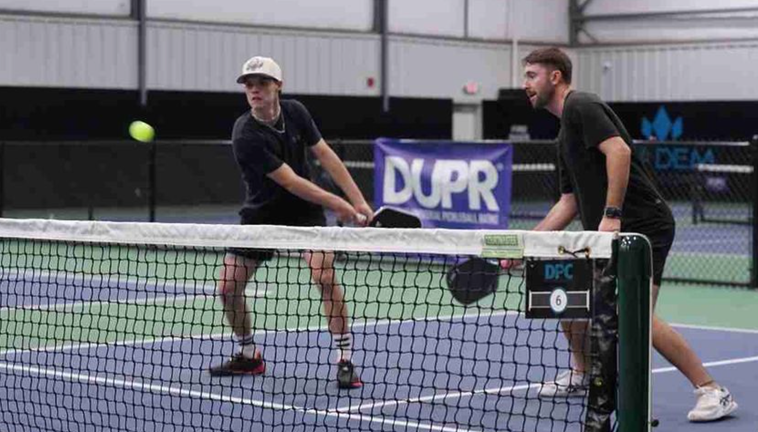

The backhand flick is one of the most aggressive shots in pickleball, but most players never get it right. These 3 steps will make it nearly unreturnable.
The backhand flick is one of the most aggressive shots you can pull out at the kitchen line, and most players either never try it or try it wrong.
The problem is usually not effort. It is mechanics. Without the right setup, the shot floats, goes wide, or pops up and gets hammered back at you.
These three steps come from Briones Pickleball Academy on YouTube, and they break down exactly what has to happen from your body position all the way through contact to make this shot land like a weapon.
Love pickleball? Then you'll love our free newsletter. We send the latest news, tips, and highlights for free each week.
What Is the Backhand Flick in Pickleball?
The backhand flick is an aggressive, topspin-loaded shot hit from the kitchen line on your backhand side.
Unlike a standard dink or reset, the flick is designed to attack, not neutralize.
You take the ball early, snap your wrist upward through contact, and send it crosscourt at a sharp angle with enough topspin to drop it fast.
Done right, it gives your opponent almost no time to react.
It is different from a punch volley or a roll volley because the wrist is doing most of the work.
If you want to understand how it compares to other options at the net, this breakdown of roll volley vs. punch volley is worth reading first.
The backhand flick sits alongside the drop, the drive, and the reset as one of the essential pickleball shots to master if you want to keep climbing.
Why Do Most Players Struggle With This Shot?
The most common mistake is standing too tall.
When you are upright, you contact the ball late, your paddle has no room to work underneath it, and you end up pushing the shot instead of flicking it.
The second mistake is hitting behind the ball instead of to the outside.
That sends the shot straight, not crosscourt, and a straight backhand flick is much easier to read and defend.
Fix those two things and you are already most of the way there. The three steps below handle both.
Step 1: Get Low and Lean at the Waist
Getting low is the foundation of the entire shot. You can bend your knees, lean forward at the waist, or combine both.
What matters is that your body is not blocking you from taking the ball early.
When you stay upright, the ball has to drop below your comfortable contact zone before you can swing.
That delays everything. Getting low lets you intercept the ball sooner, which is exactly what makes the flick so hard to read and return.
Leaning at the waist also helps you stay balanced through the shot. You are not lunging or reaching.
You are positioned so that the swing happens cleanly and your weight stays centered.
This is the same principle that makes fast hands at the net so effective at the high levels. The body position creates the opportunity. The hand does the work.
- Bend your knees or hinge at the waist, whichever gets you lower
- Keep your weight forward and balanced, not on your heels
- Take the ball as early as possible, before it drops to your ankle
 The Dink Media Team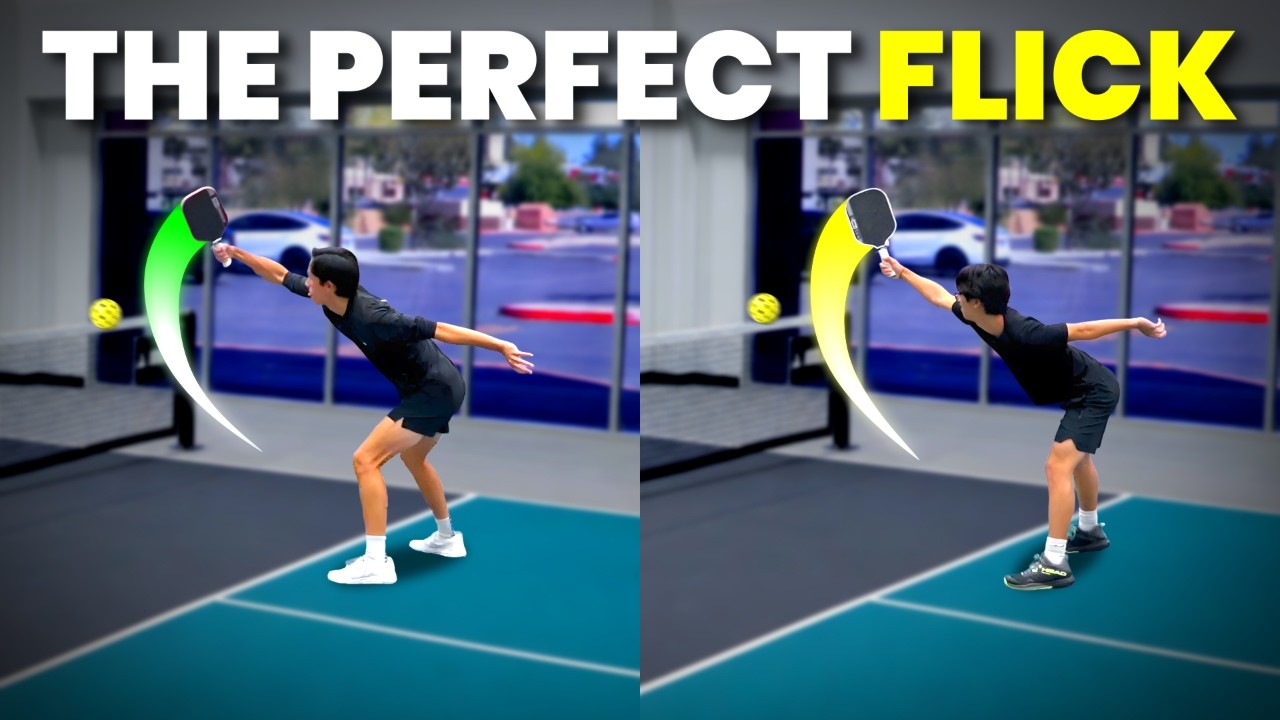
Step 2: Drop the Paddle Head Below the Ball
Dropping the paddle head does two things at once. It disguises the shot and it sets you up to generate real topspin.
If your paddle stays level or above the ball, you are going to push through it. That gives you a flat shot with no spin, which is easy to handle.
When the paddle is well below the ball at the start of the swing, you have room to brush upward through contact and create the topspin that pulls the ball down fast after it crosses the net.
The disguise element matters too. A dropped paddle head looks like you might be resetting or dinking softly. Your opponent reads that and relaxes slightly.
Then the flick comes and they are already behind.
This is actually one of the core techniques for disguising your pickleball shots, and the backhand flick is one of the best examples of it in practice.
- Point the paddle tip down before you begin the swing
- Make sure the paddle face is well below the ball, not level with it
- Swing upward through the ball, not straight through it
- Keep the motion compact, this is a wrist-driven shot, not a full arm swing
If you want to add real snap to the tip of the paddle through this motion, this tip position fix is directly relevant.
 The Dink Media Team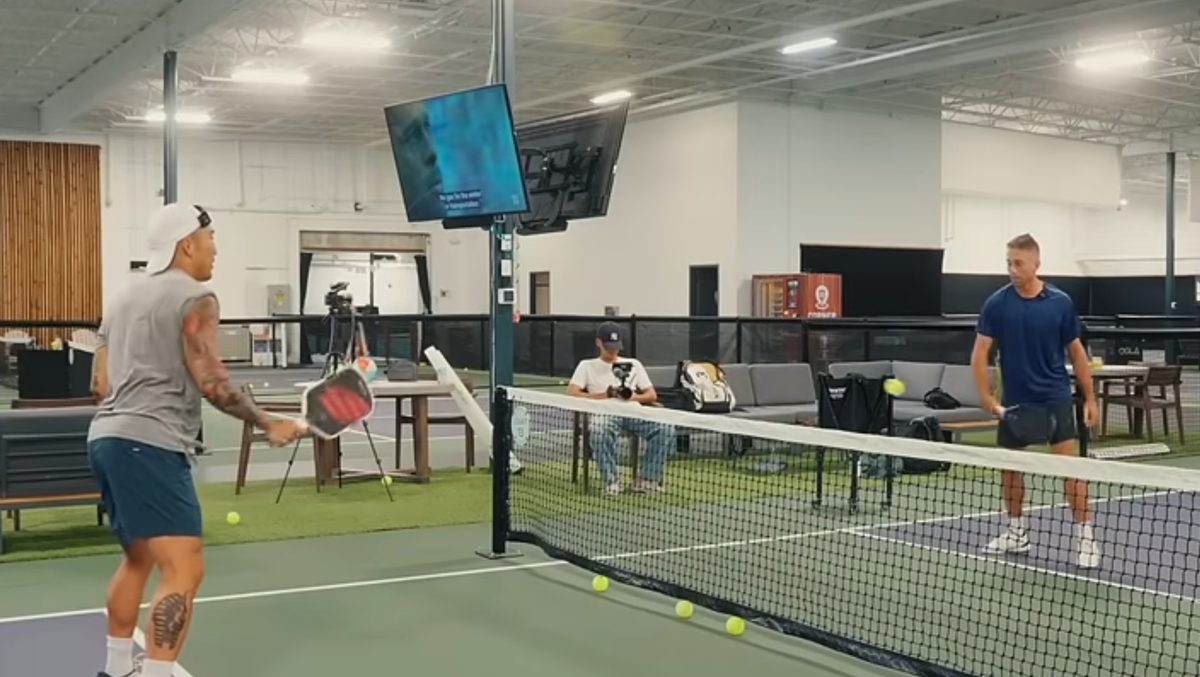
Step 3: Hit the Outside of the Ball
This is the step most instructional content skips, and it is the one that actually makes the shot go crosscourt at a sharp angle instead of sailing wide or going straight.
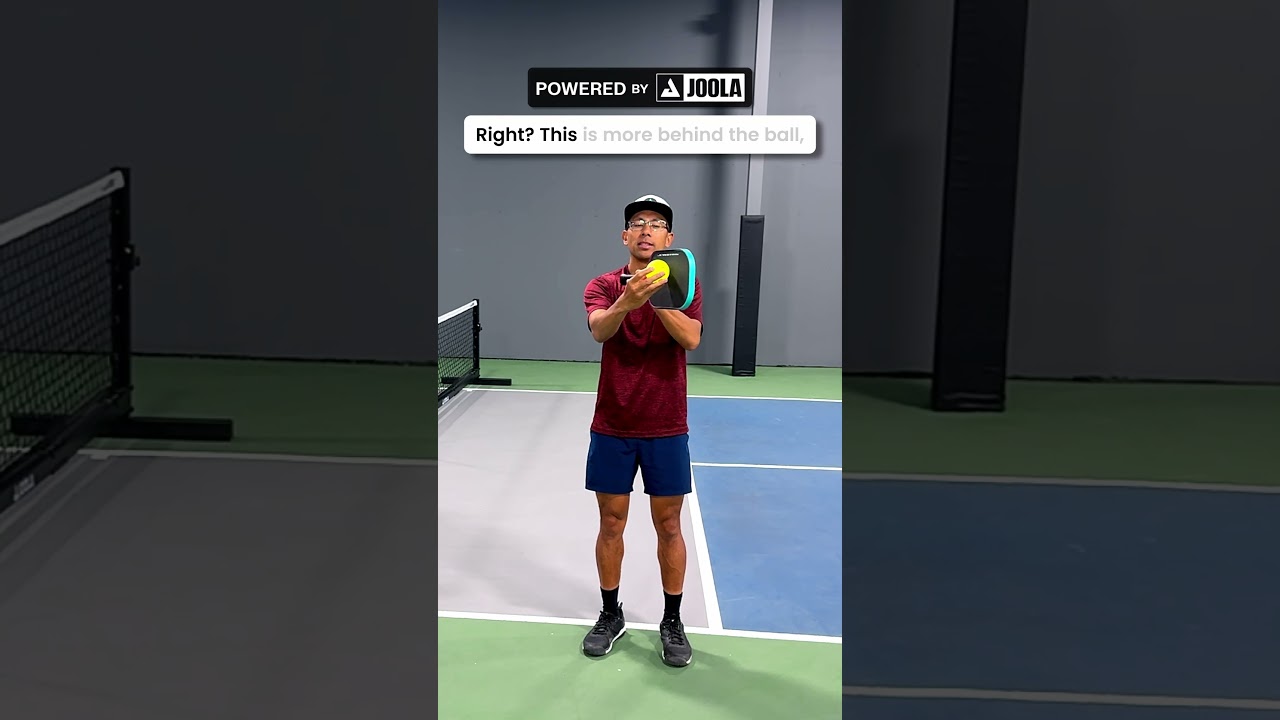
Hitting the outside of the ball means your paddle contacts the ball on the side away from you, not directly behind it.
Think of the ball as a clock face. If you are hitting from the left side, the outside of the ball is somewhere around the 3 o'clock position.
Behind the ball would be 9 o'clock or dead center.
When you make contact on the outside and swing upward, the combination of the spin and the angle of contact redirects the ball crosscourt.
That crosscourt angle is what creates the steep geometry that makes the shot so hard to handle.
A straight backhand flick is a decent shot. A crosscourt backhand flick with topspin that bends away from your opponent is a different problem entirely.
 The Dink Media Team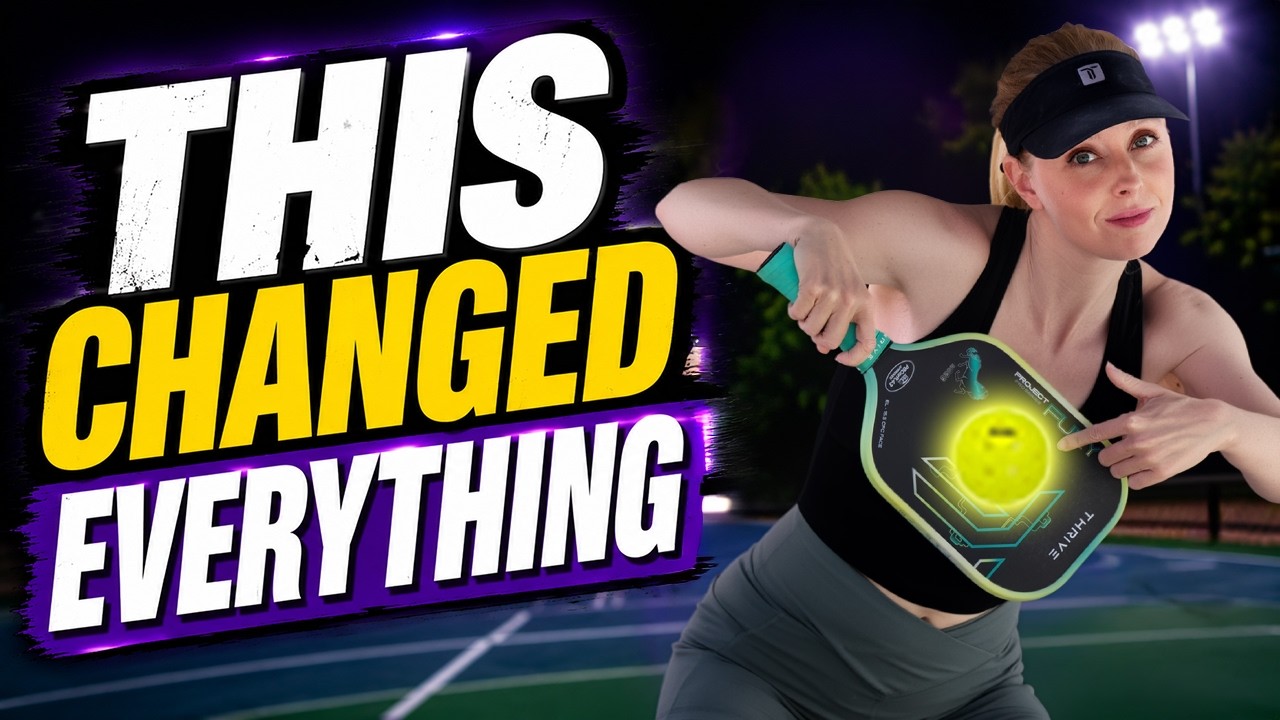
How Does Contact Point Change the Shot?
The difference between outside contact and behind contact sounds small but the result is completely different.
- Behind the ball means your paddle face is pushing through the center of the ball. The shot goes in the direction your paddle is swinging, which for most players is straight ahead or slightly toward the middle.
- Outside the ball means your paddle is contacting the edge of the ball. The ball rolls off the paddle at an angle, curves sharply, and lands crosscourt. That angle combined with the topspin from the upward swing makes it nearly impossible to return at pace.
This same principle applies to other aggressive shots you might already be working on.
If you want to see how wrist position and contact angle interact more broadly, this look at wrist lag and what it actually does to your swing is useful context.
 The Dink Media Team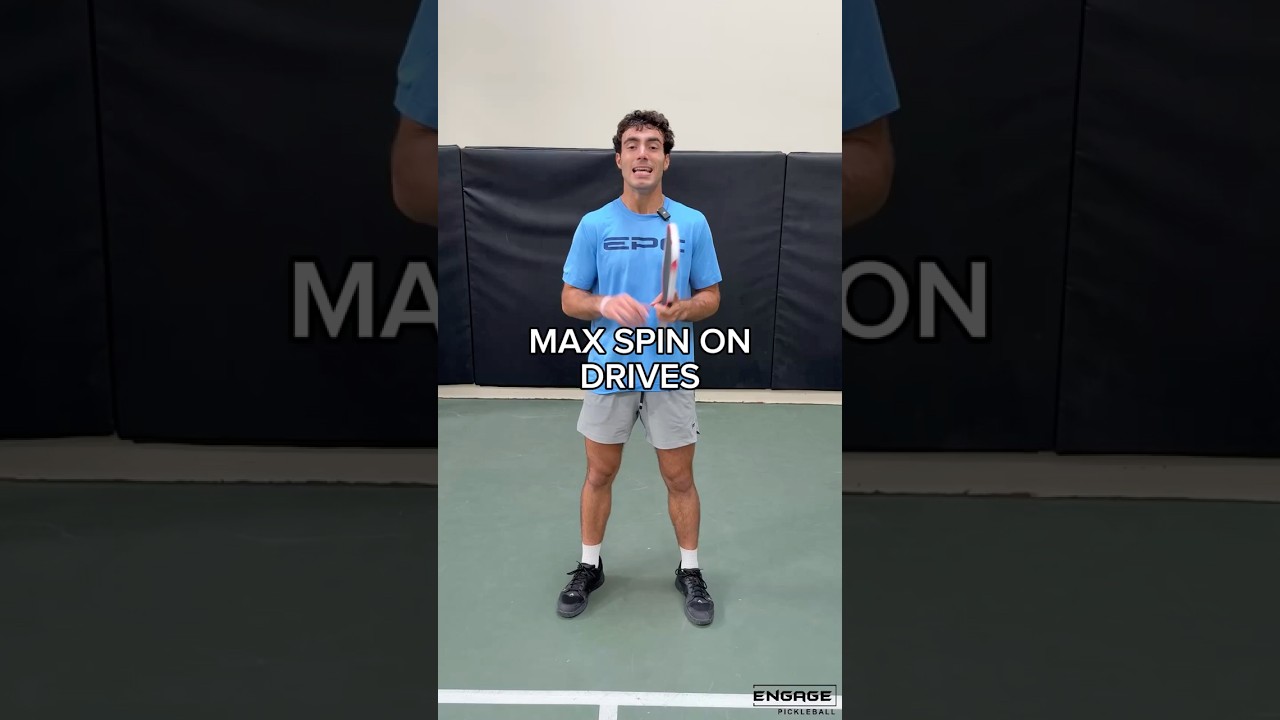
Putting All Three Steps Together
The three steps are not independent. They build on each other and the timing matters.
You get low first so you can take the ball early.
You drop the paddle head so you have room to swing upward and generate topspin. You contact the outside of the ball so the shot bends crosscourt.
Skip step one and step two does not help, because you will still be contacting the ball late.
Do steps one and two but hit behind the ball, and you get a topspin shot that goes right at your opponent instead of away from them.
The sequence is simple: body low, paddle below, contact outside.
Run that checklist every time you practice until it becomes automatic, the same way any 4-step system for winning more games only works when you run it in order.
 The Dink Media Team
When Should You Use the Backhand Flick?
The backhand flick is an attacking shot, so it works best when you already have a ball that sits up slightly at the kitchen line.
A ball that is at your feet or very low is a reset situation, not a flick situation.
You want the ball to be somewhere between mid-thigh and waist height on your backhand side.
That is the zone where you can get low, drop the paddle, and still have room to swing upward through the ball cleanly.
If you are not sure when to attack versus when to reset, this breakdown of kitchen attack strategy comparing the roll and the flick will help you sort out the decision.
 The Dink Media Team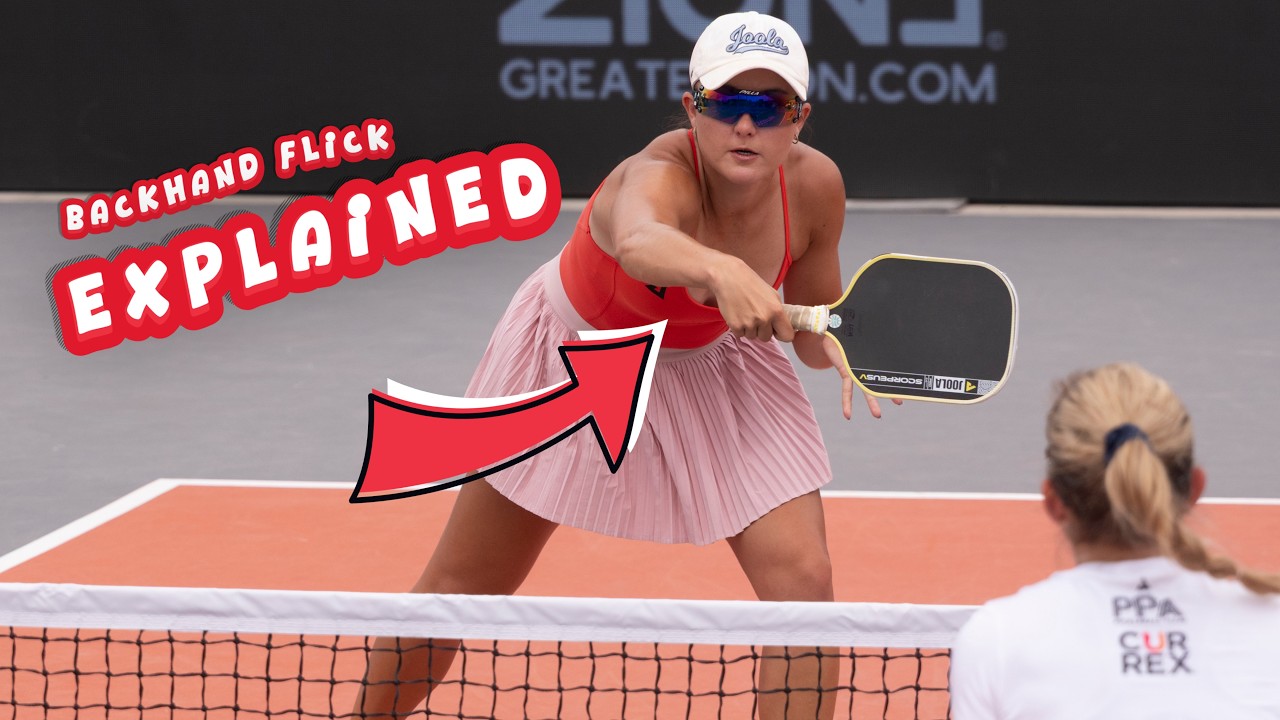
Common Mistakes to Stop Making
Even after understanding all three steps, players still fall into a few consistent traps. Watch for these in your own game.
- Swinging too big: The backhand flick is a compact, wrist-driven motion. A full arm swing slows the snap down and gives your opponent more time to read the shot.
- Staying flat-footed: If you are not bending into the shot, you are hitting it late and off balance. Get low before the ball arrives, not after.
- Hitting the wrong part of the ball: Going behind the ball out of habit is the most common error. Focus on contacting the outside edge and let the angle work for you.
- Using the flick on balls that are too low: Trying to flick a ball at ankle height usually results in a pop-up. Learn to identify the right ball height and reset when it is not there.
If pop-ups are a consistent problem for you at the kitchen line, these two tips for stopping pop-up dinks address the root cause directly.
 The Dink Media Team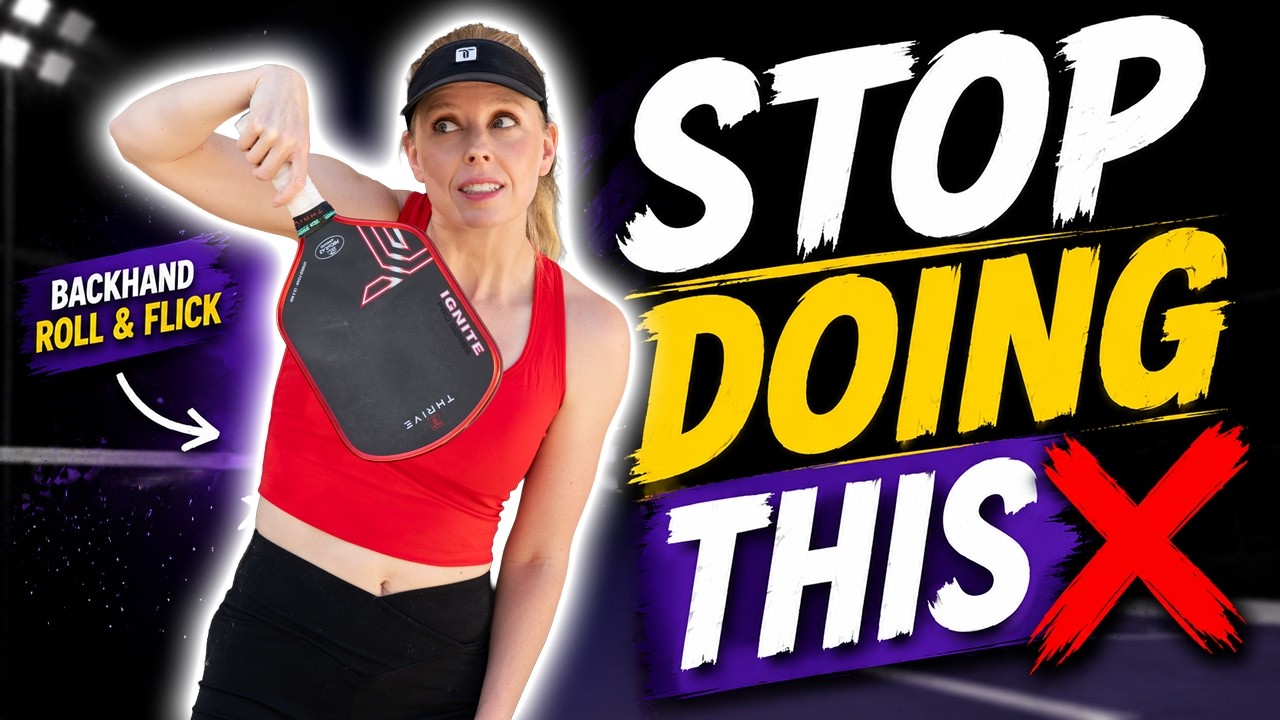
How to Practice the Backhand Flick
The best way to groove this shot is with a partner feeding you balls from just behind the kitchen line on the other side.
Ask them to toss or hit softly to your backhand side at a consistent height, around mid-thigh to waist level.
Your only job is to get low, drop the paddle head, and focus on that outside contact. Do not worry about pace. Worry about the angle.
If the ball is landing crosscourt and staying low, your mechanics are working.
Once the mechanics feel consistent, start introducing the backhand flick in rally situations. Look for the right ball height and take your shot.
For structured practice beyond feeding drills, these backhand dink drills build the consistency underneath the flick, and this 12-drill practice plan gives you a full session to slot it into.
The backhand flick becomes a real weapon when you stop treating it as a risky gamble and start treating it as a precision tool.
You are not swinging hard and hoping.
You are getting into position, setting up the paddle, and choosing exactly where to contact the ball.
That is the difference between a flick that wins points and one that just causes errors.
Get low, drop the paddle, hit the outside.
Frequently Asked Questions
What is a backhand flick in pickleball?
The backhand flick is a topspin attacking shot hit from the kitchen line on your backhand side, using a compact wrist snap to send the ball crosscourt at a sharp angle. It is designed to be taken early and hit with enough spin that opponents have almost no time to respond. Done correctly, it is one of the harder shots in the game to return.
When should I use the backhand flick instead of a reset?
Use the backhand flick when the ball sits between mid-thigh and waist height on your backhand side. If the ball is at your feet or very low, a reset is the smarter choice. The flick requires enough ball height to drop the paddle below it and still swing upward through contact.
Why does my backhand flick keep going wide or long?
The most likely cause is contacting behind the ball instead of the outside edge. When you hit behind the ball, the shot travels in the direction of your swing rather than bending crosscourt. Focus on making contact on the outside of the ball and the angle will correct itself.
How do I generate topspin on the backhand flick?
Topspin on the backhand flick comes from dropping the paddle head well below the ball and swinging upward through contact. The upward brush of the paddle face against the ball creates the forward spin. Without the dropped paddle head, you push through the ball and get a flat shot instead.
Can beginners learn the backhand flick?
Yes, but you need solid kitchen line fundamentals first, specifically good body positioning and an understanding of when to attack versus reset. Start by practicing the three mechanics in isolation with a feeder before trying it in live play. Once the contact point and paddle angle feel natural, the shot comes together quickly.

Love Pickleball? Join 100k+ readers for free weekly tips, news & gear deals.
Subscribe to The Dink